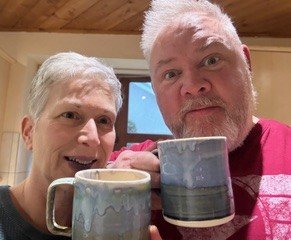
Hi, I’m Jane Boswell and I am an artist and ceramicist living and working in
Pembrokeshire West Wales.

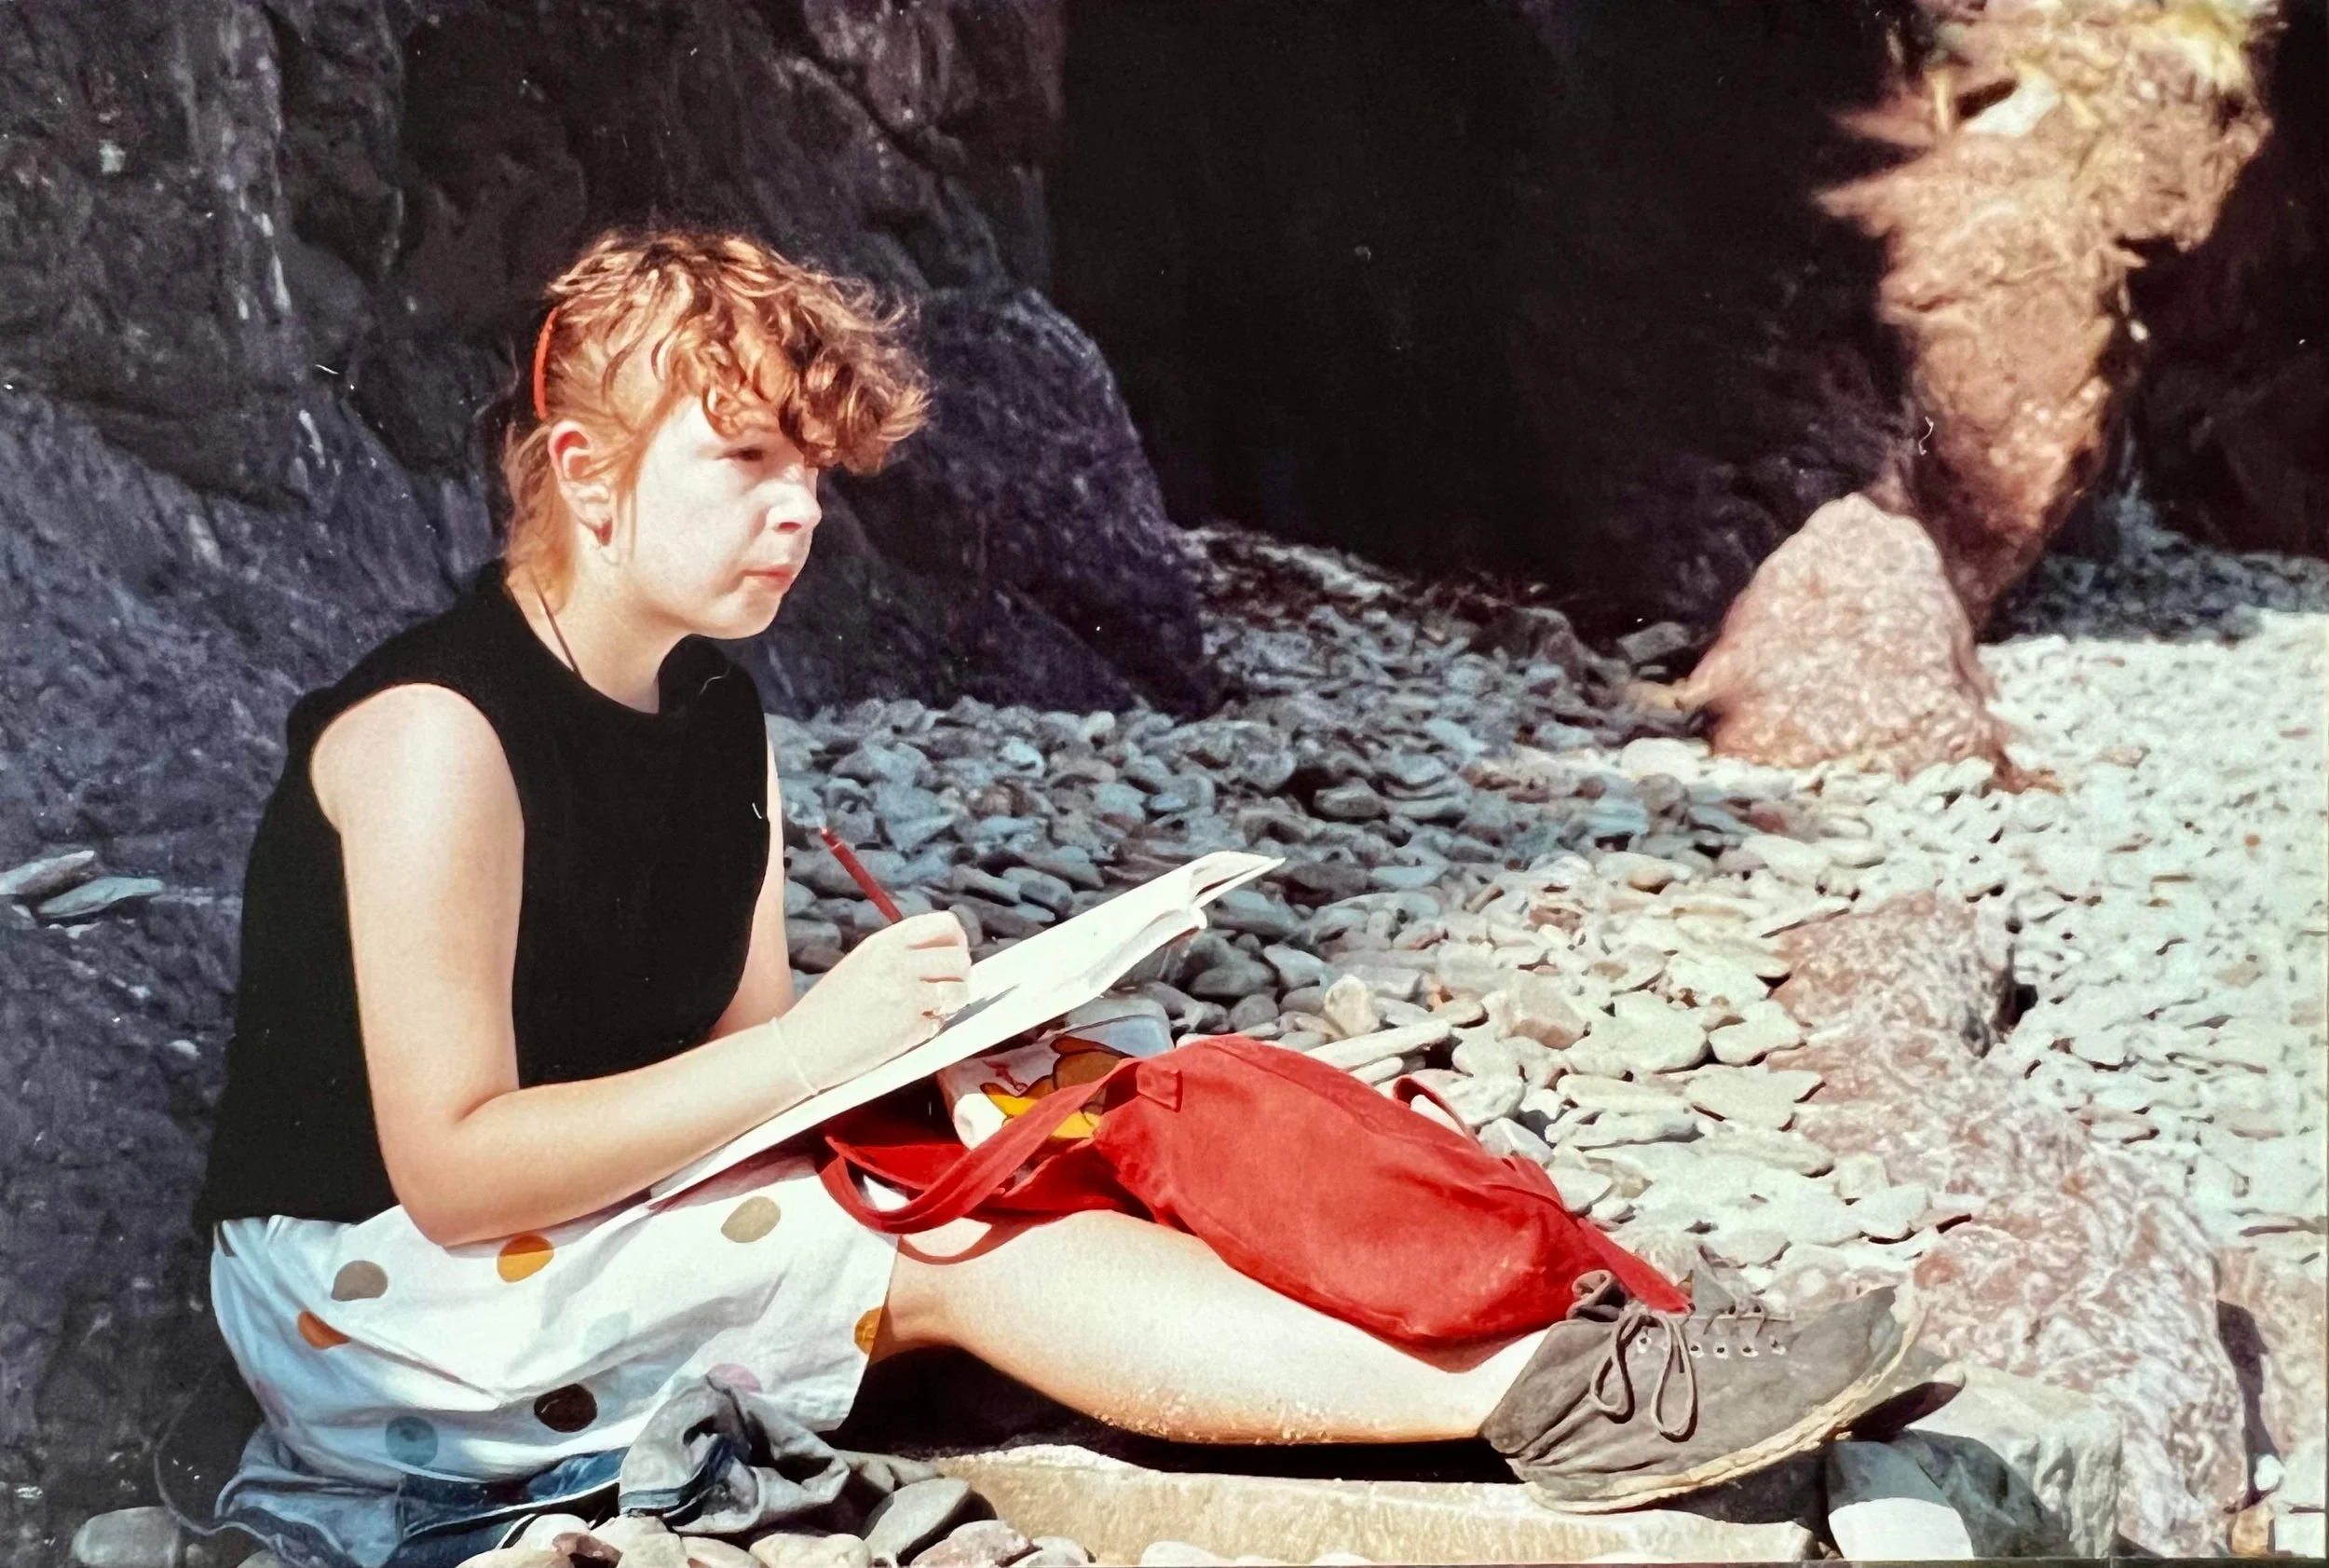
Having worked as an Art teacher for over 30 years, a move to Pembrokeshire, saw a
change of lifestyle and direction for me. I found a lovely cottage near Narberth and
have made this my home, with my dog , Betty, who also enjoys greeting customers
in the shop!
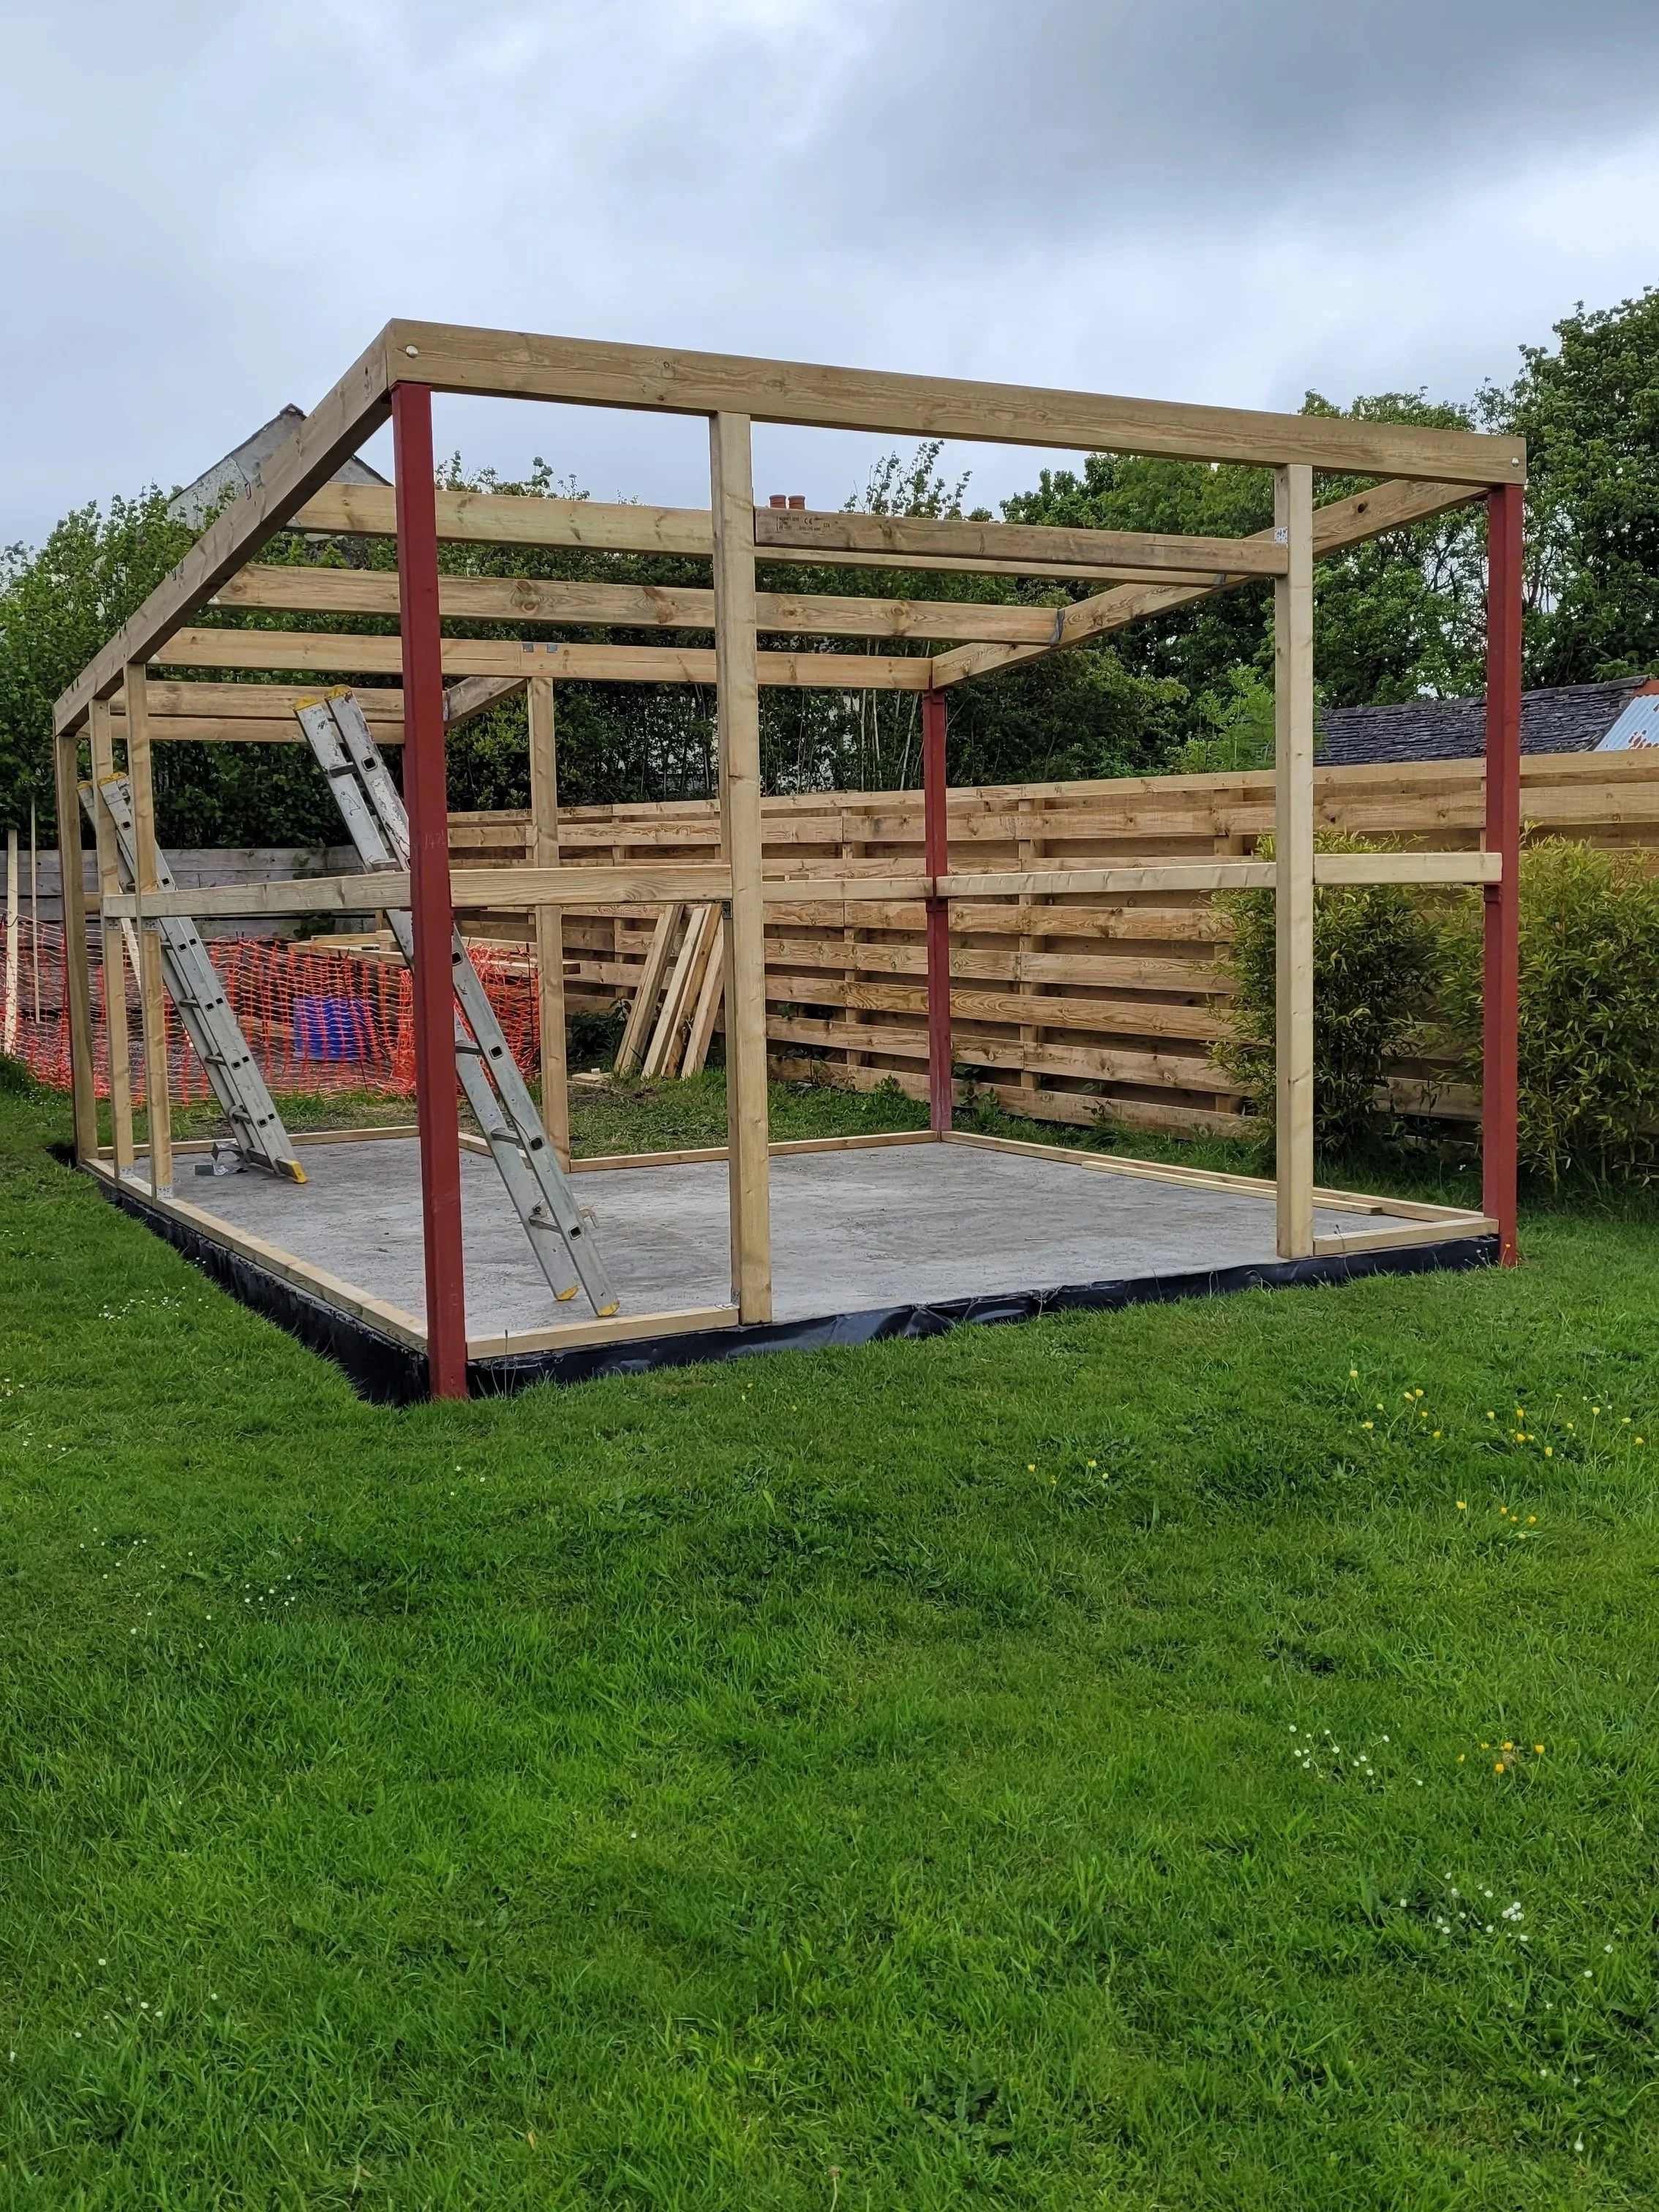
My next adventure is the building of a studio in my garden. This will realise a long-
held dream of mine, to have a dedicated space to work and, hopefully offer
workshops in both painting and clay.

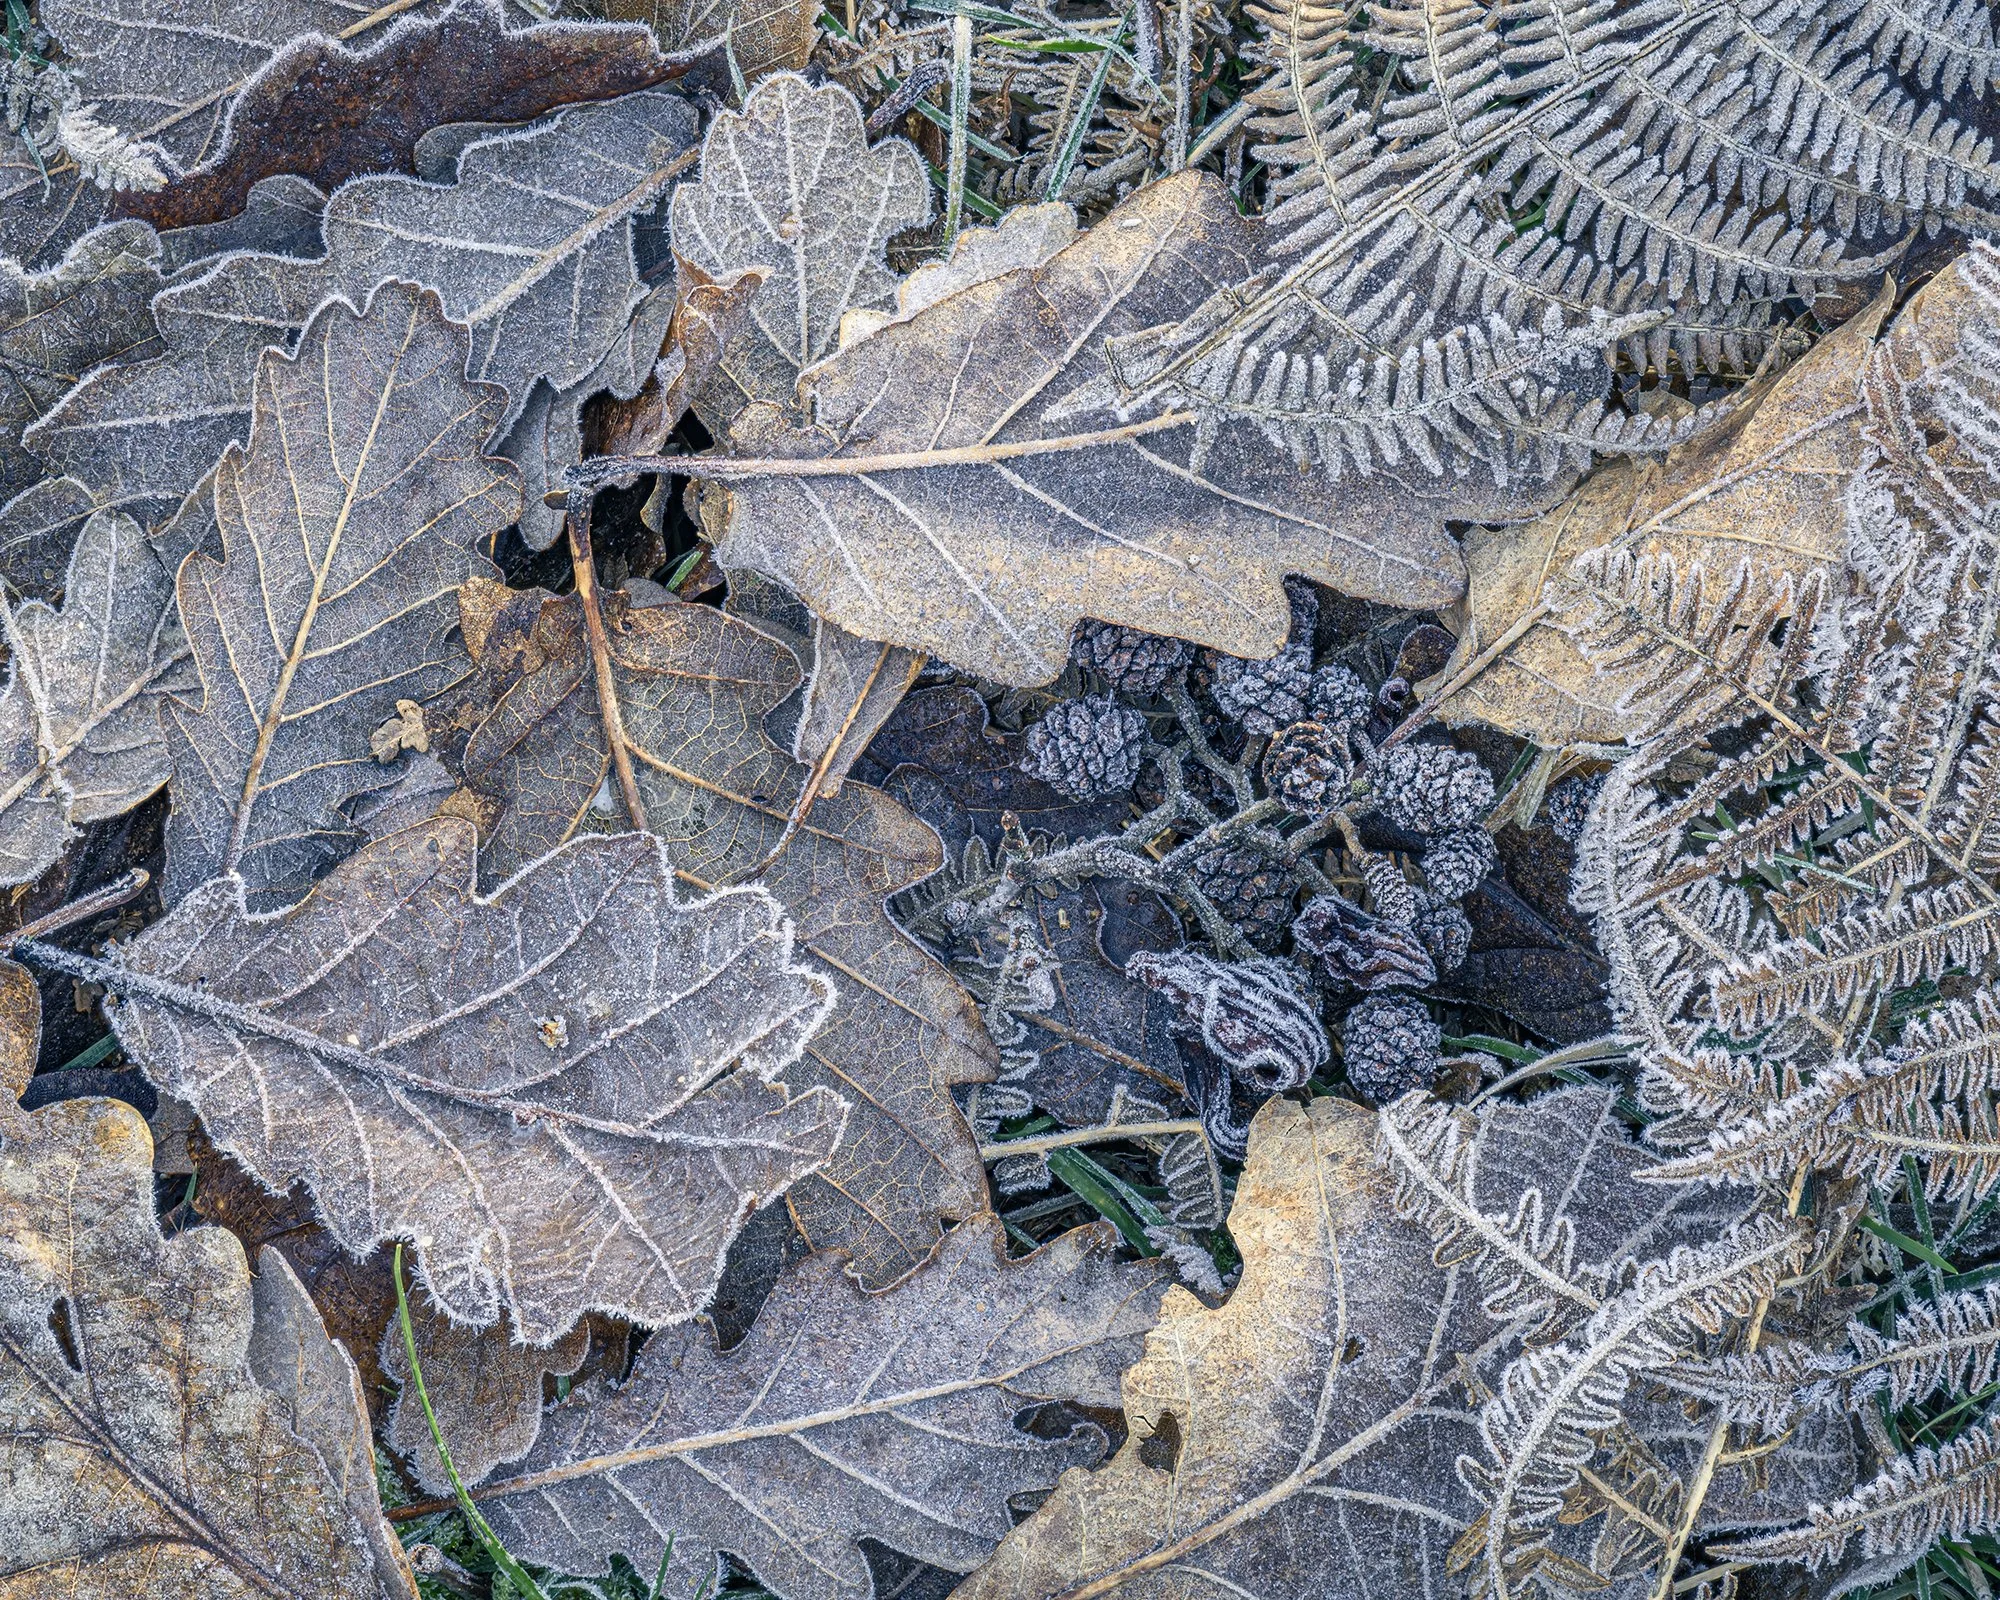
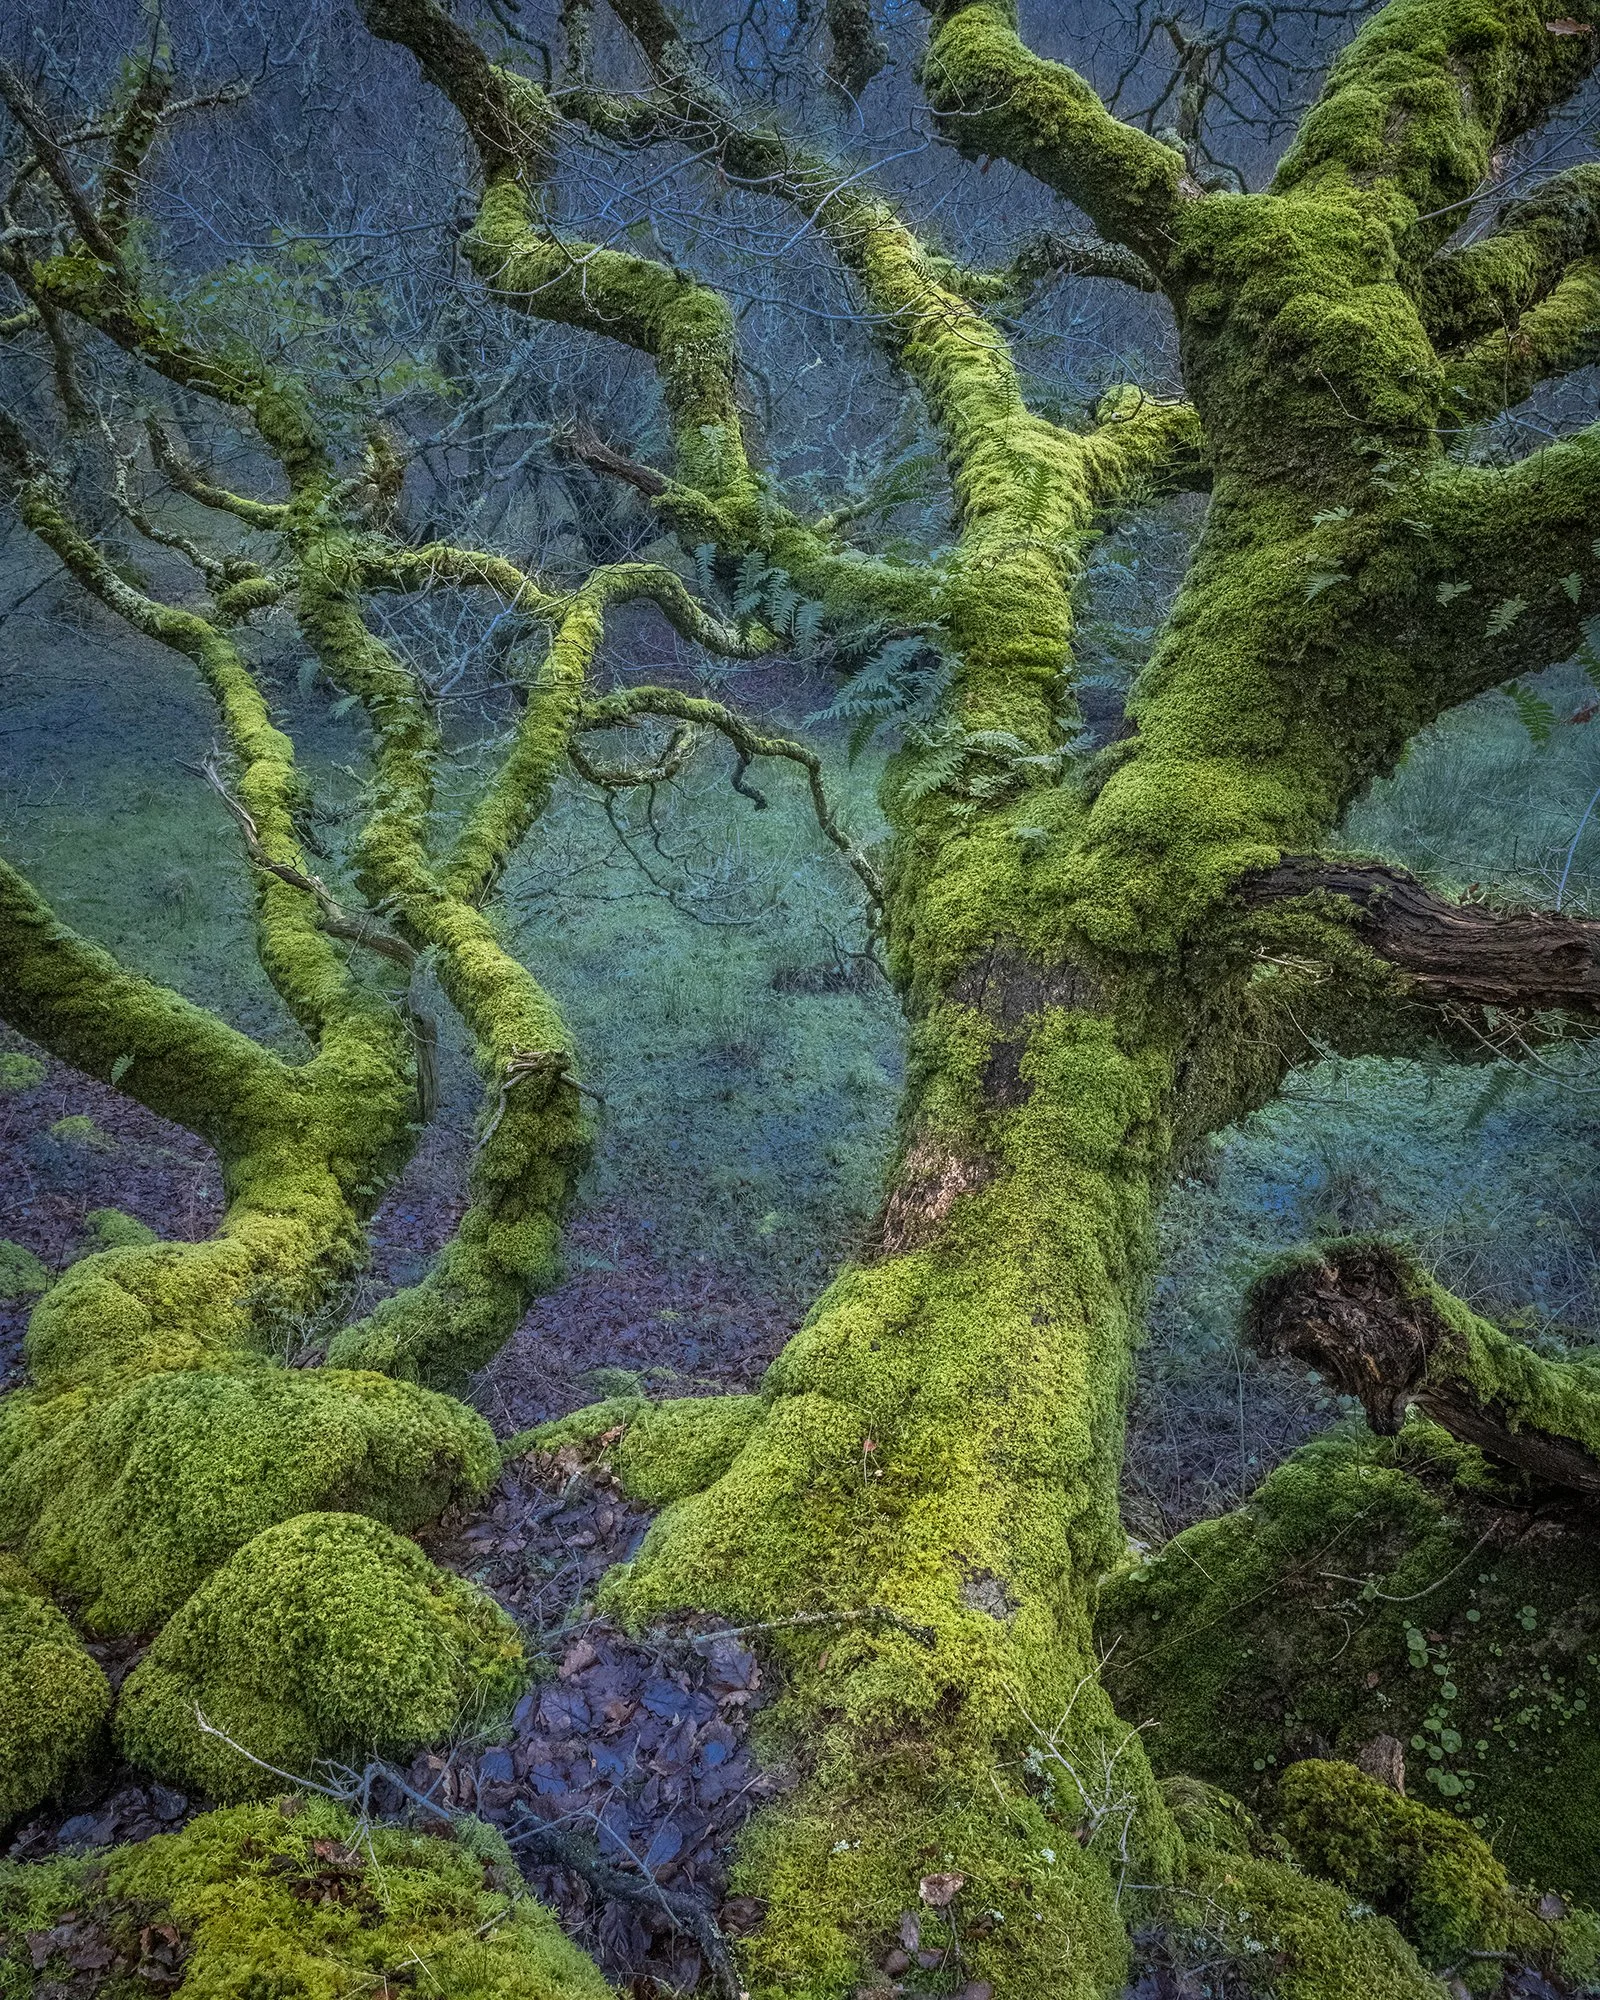
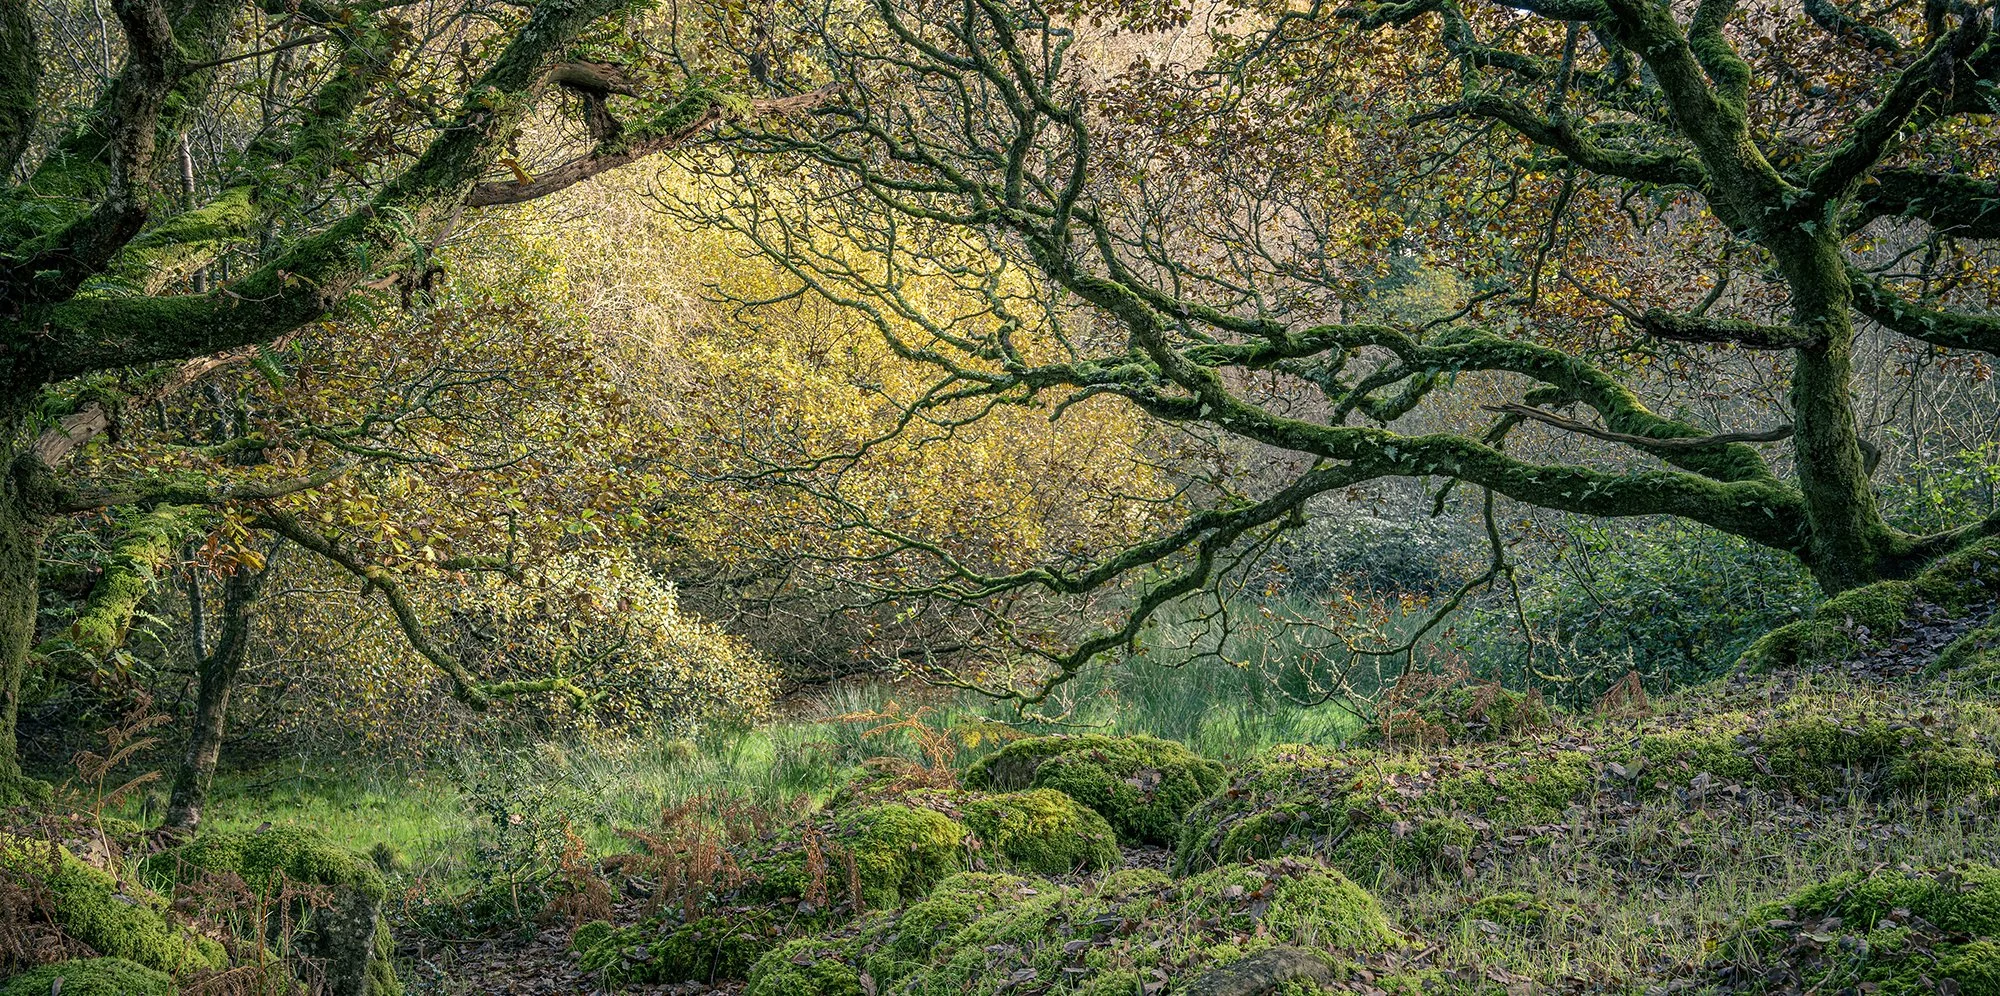
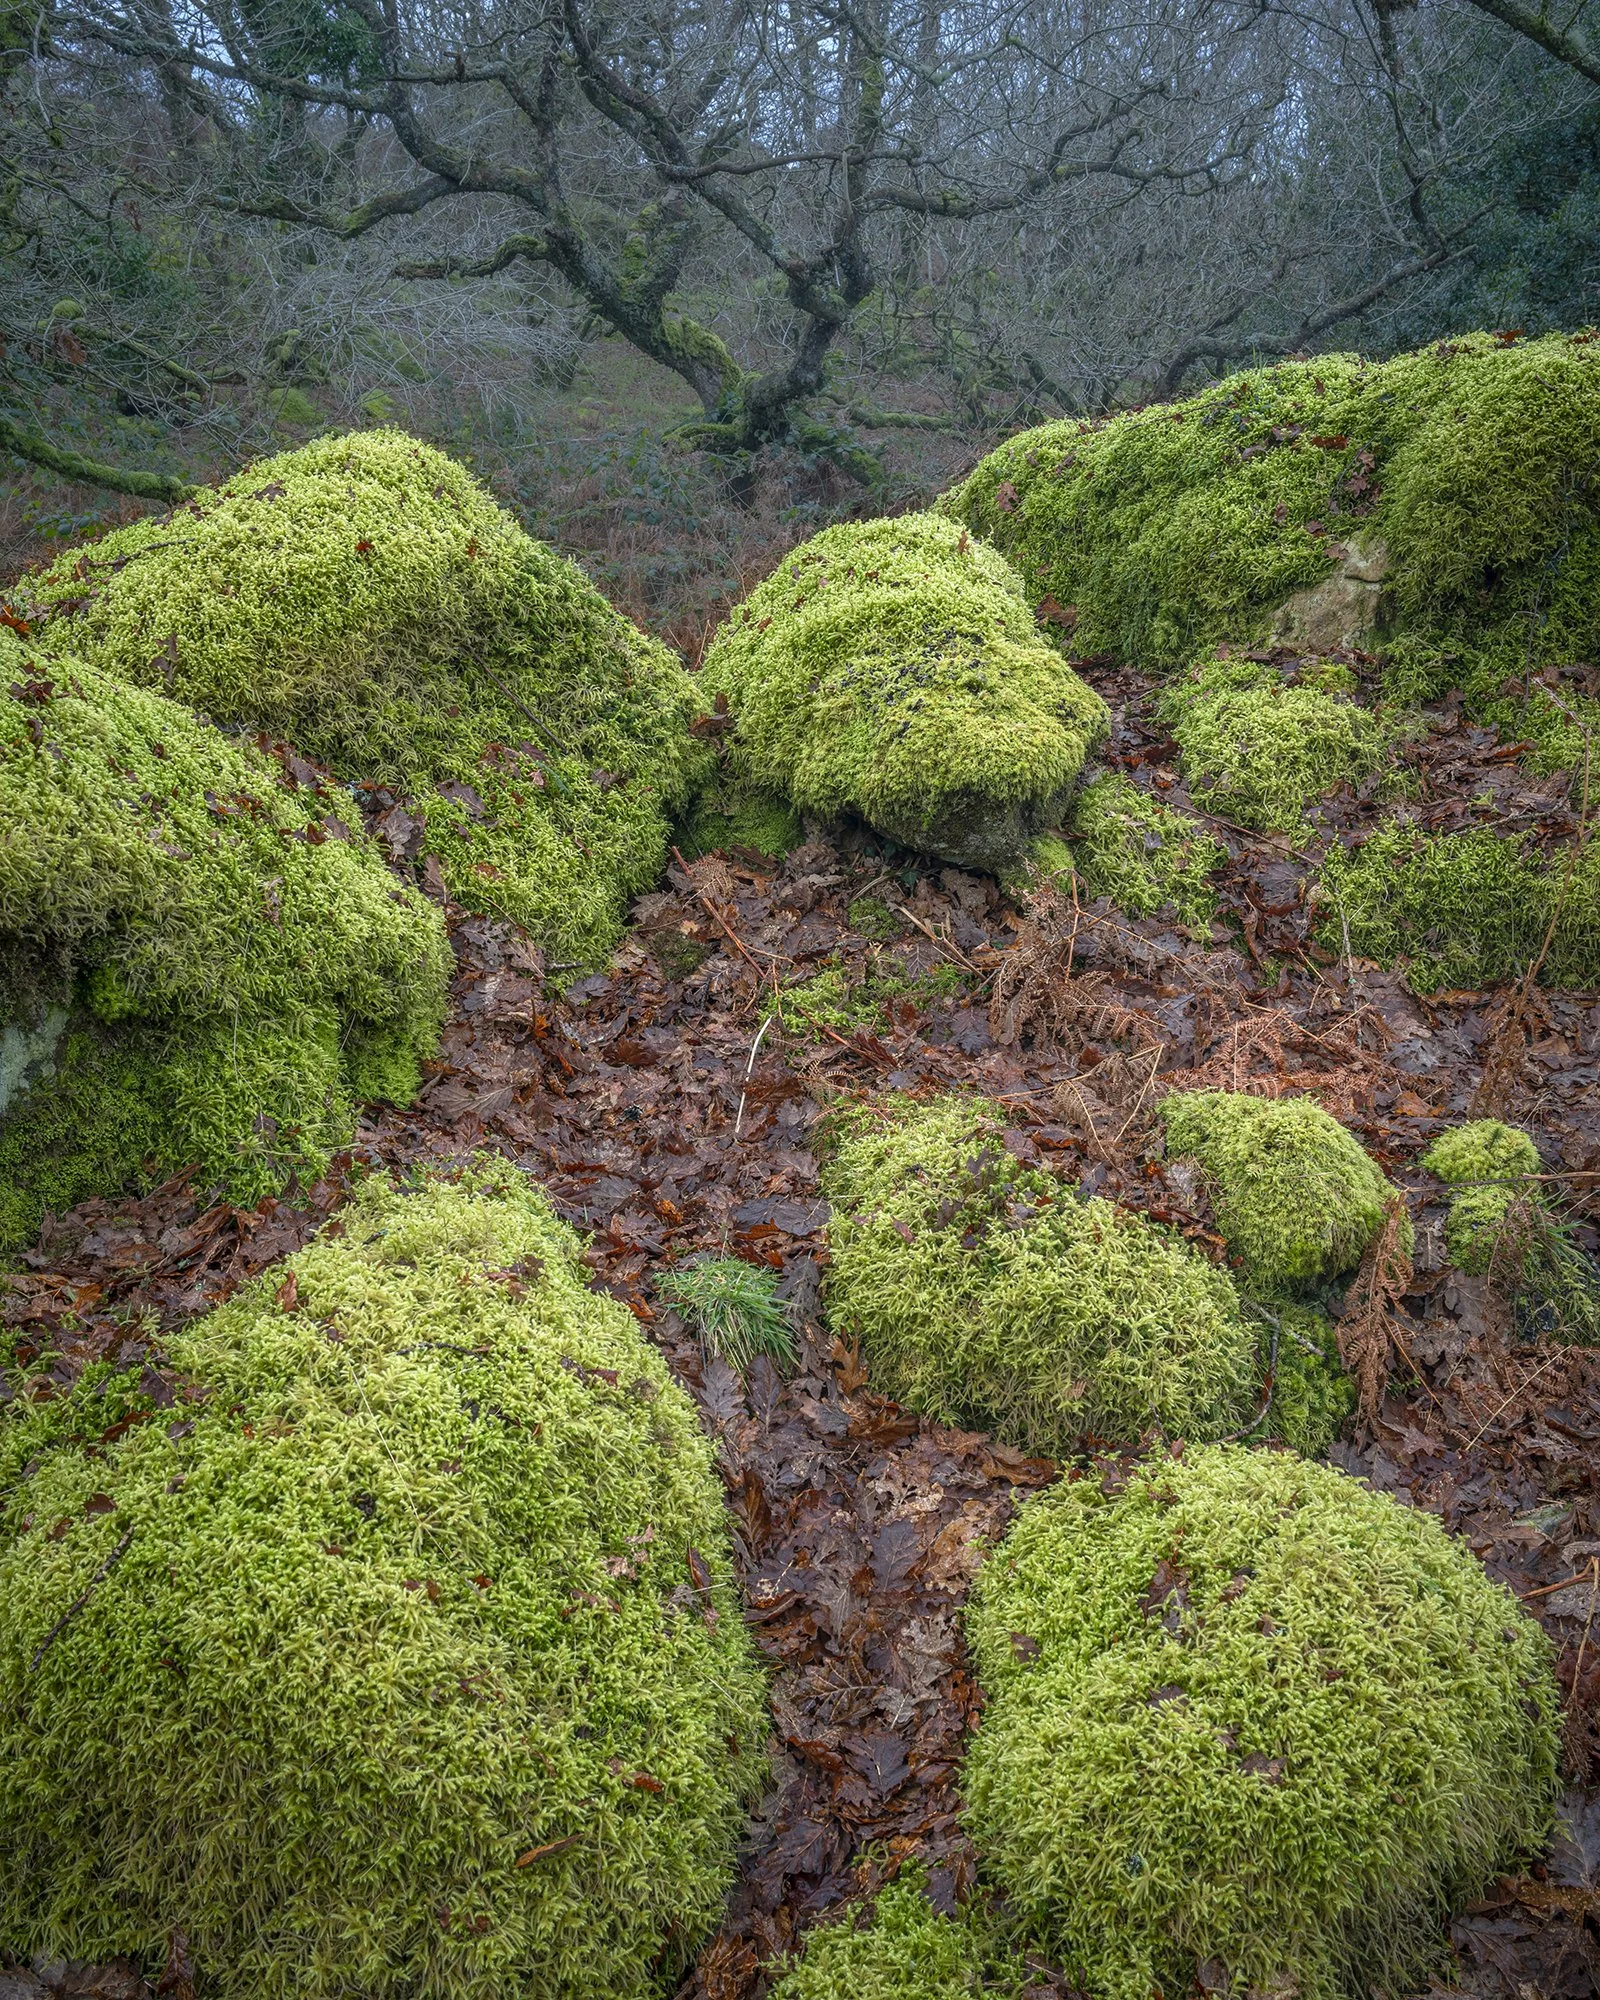
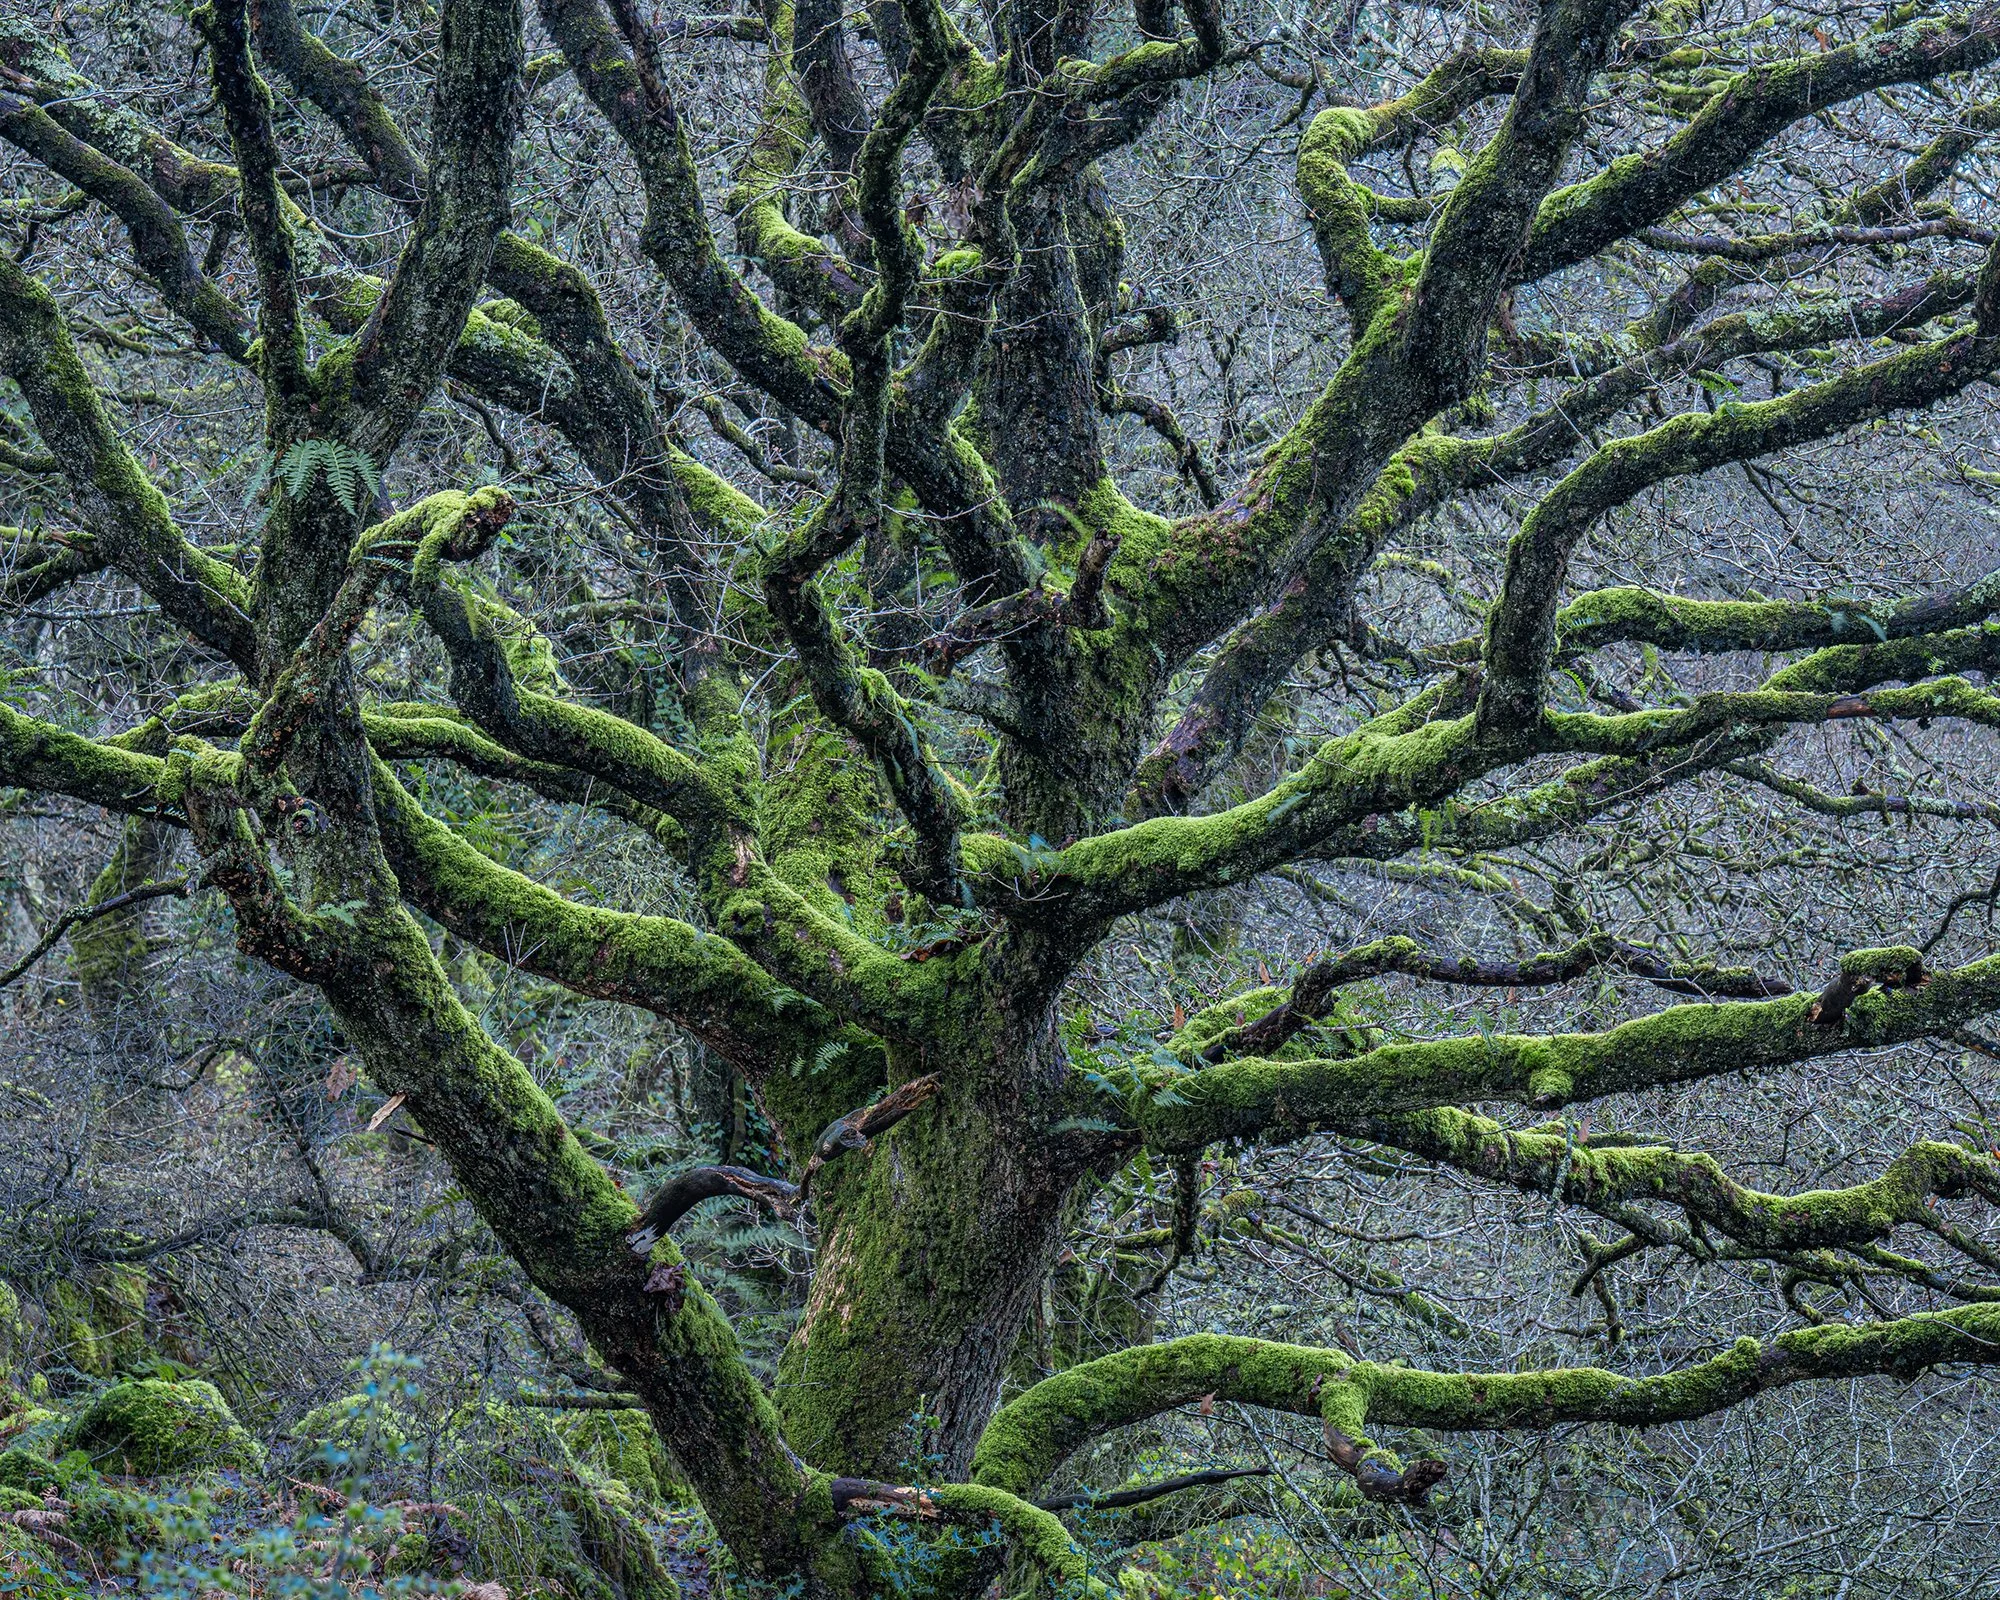
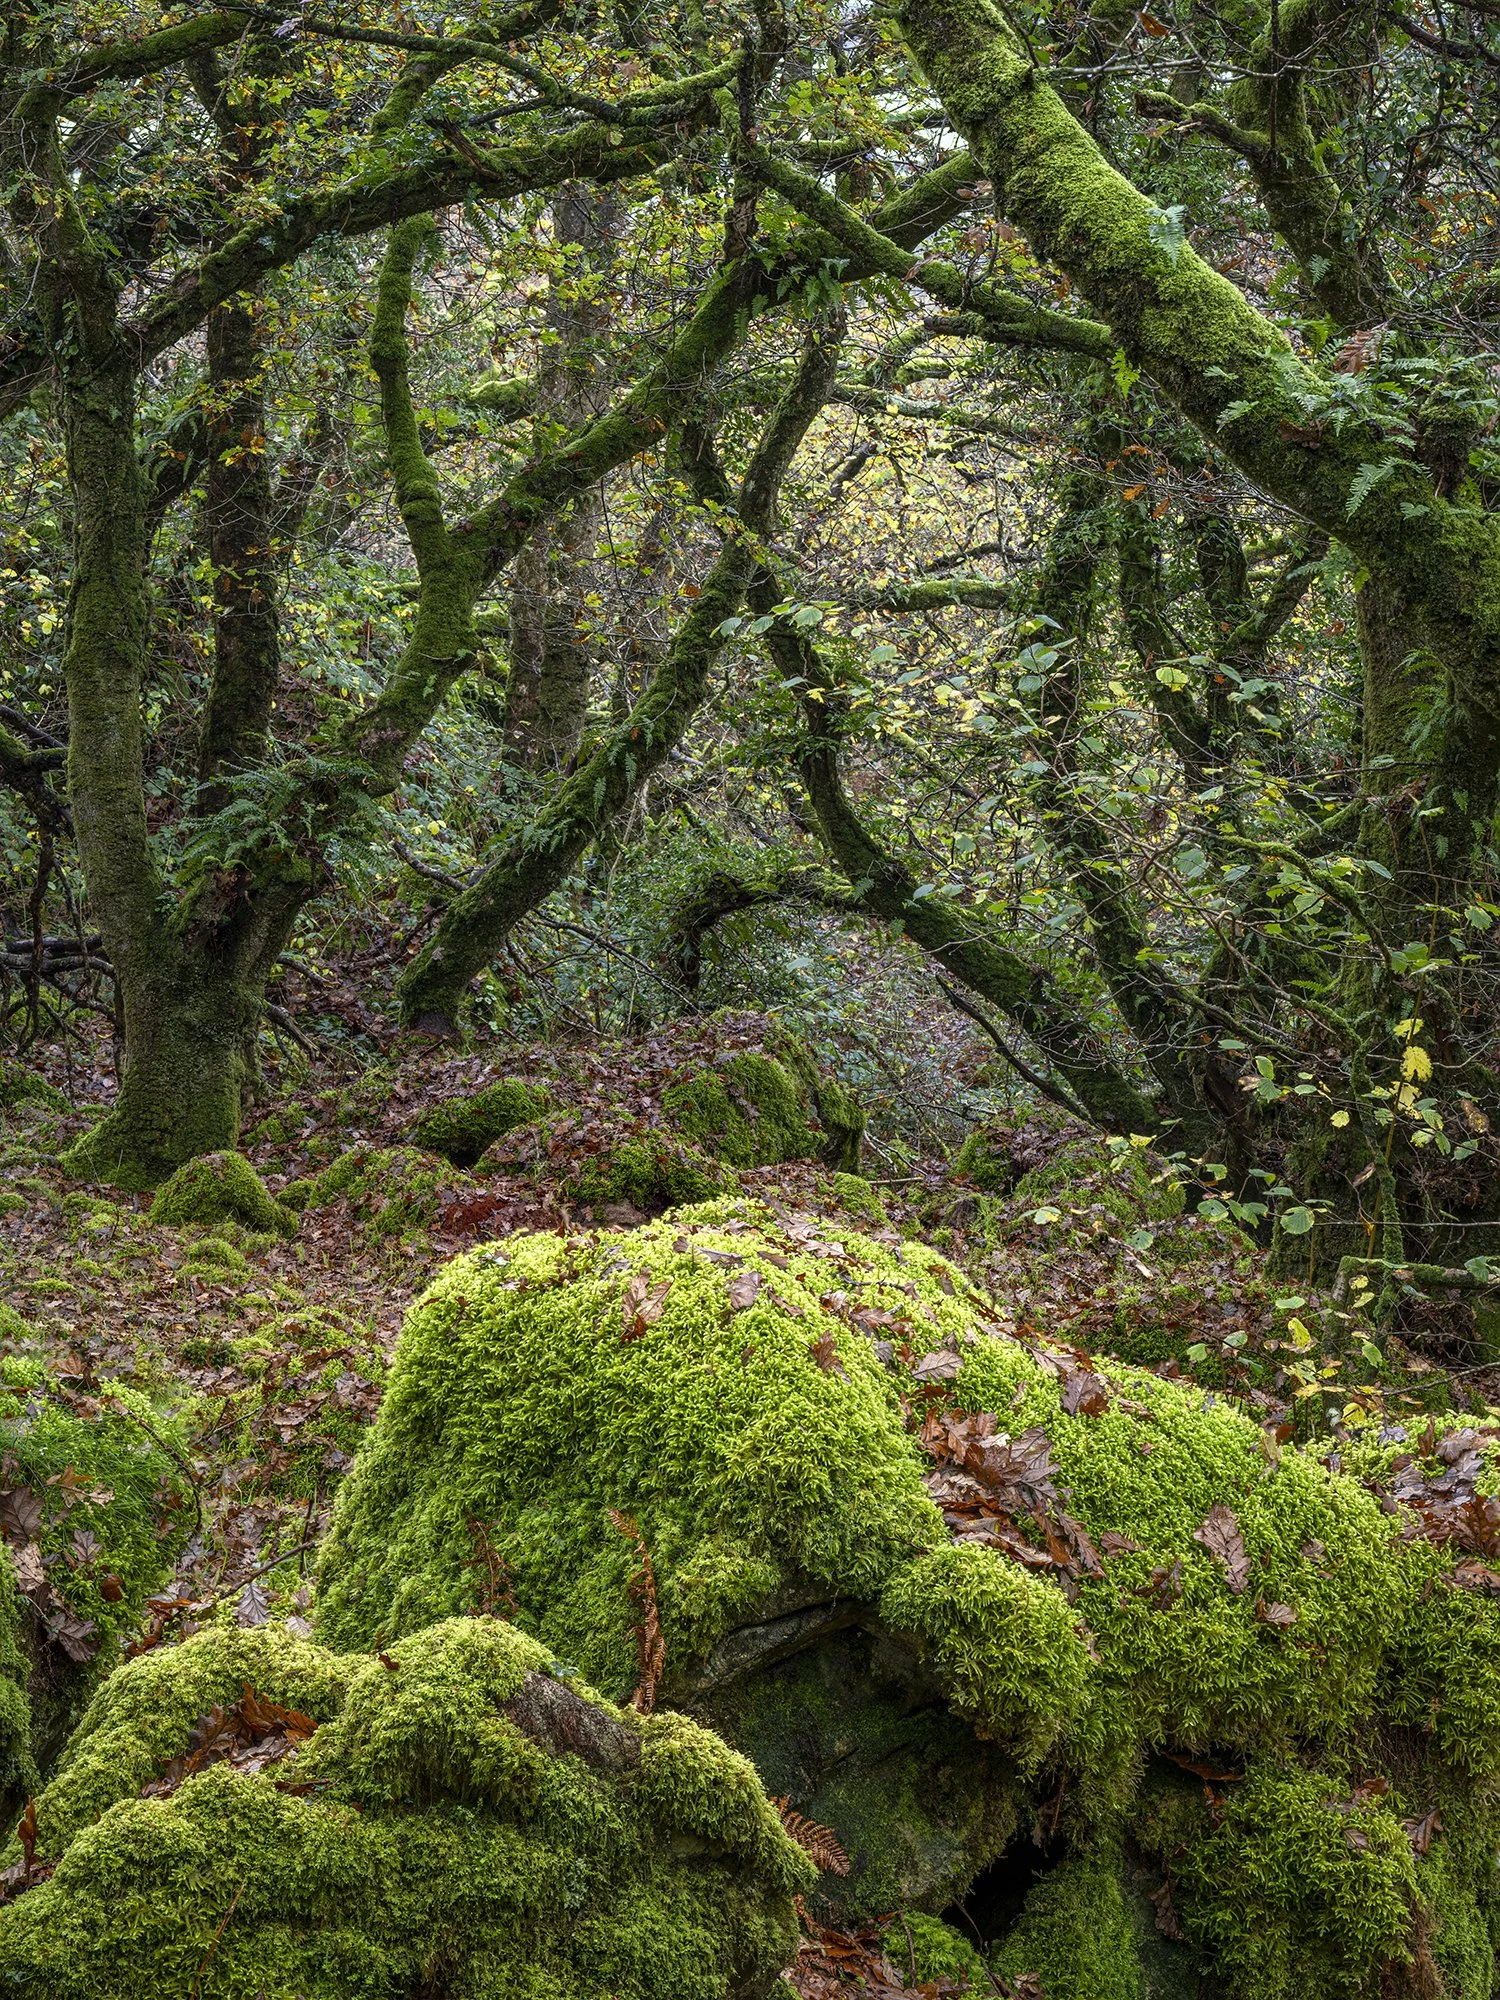
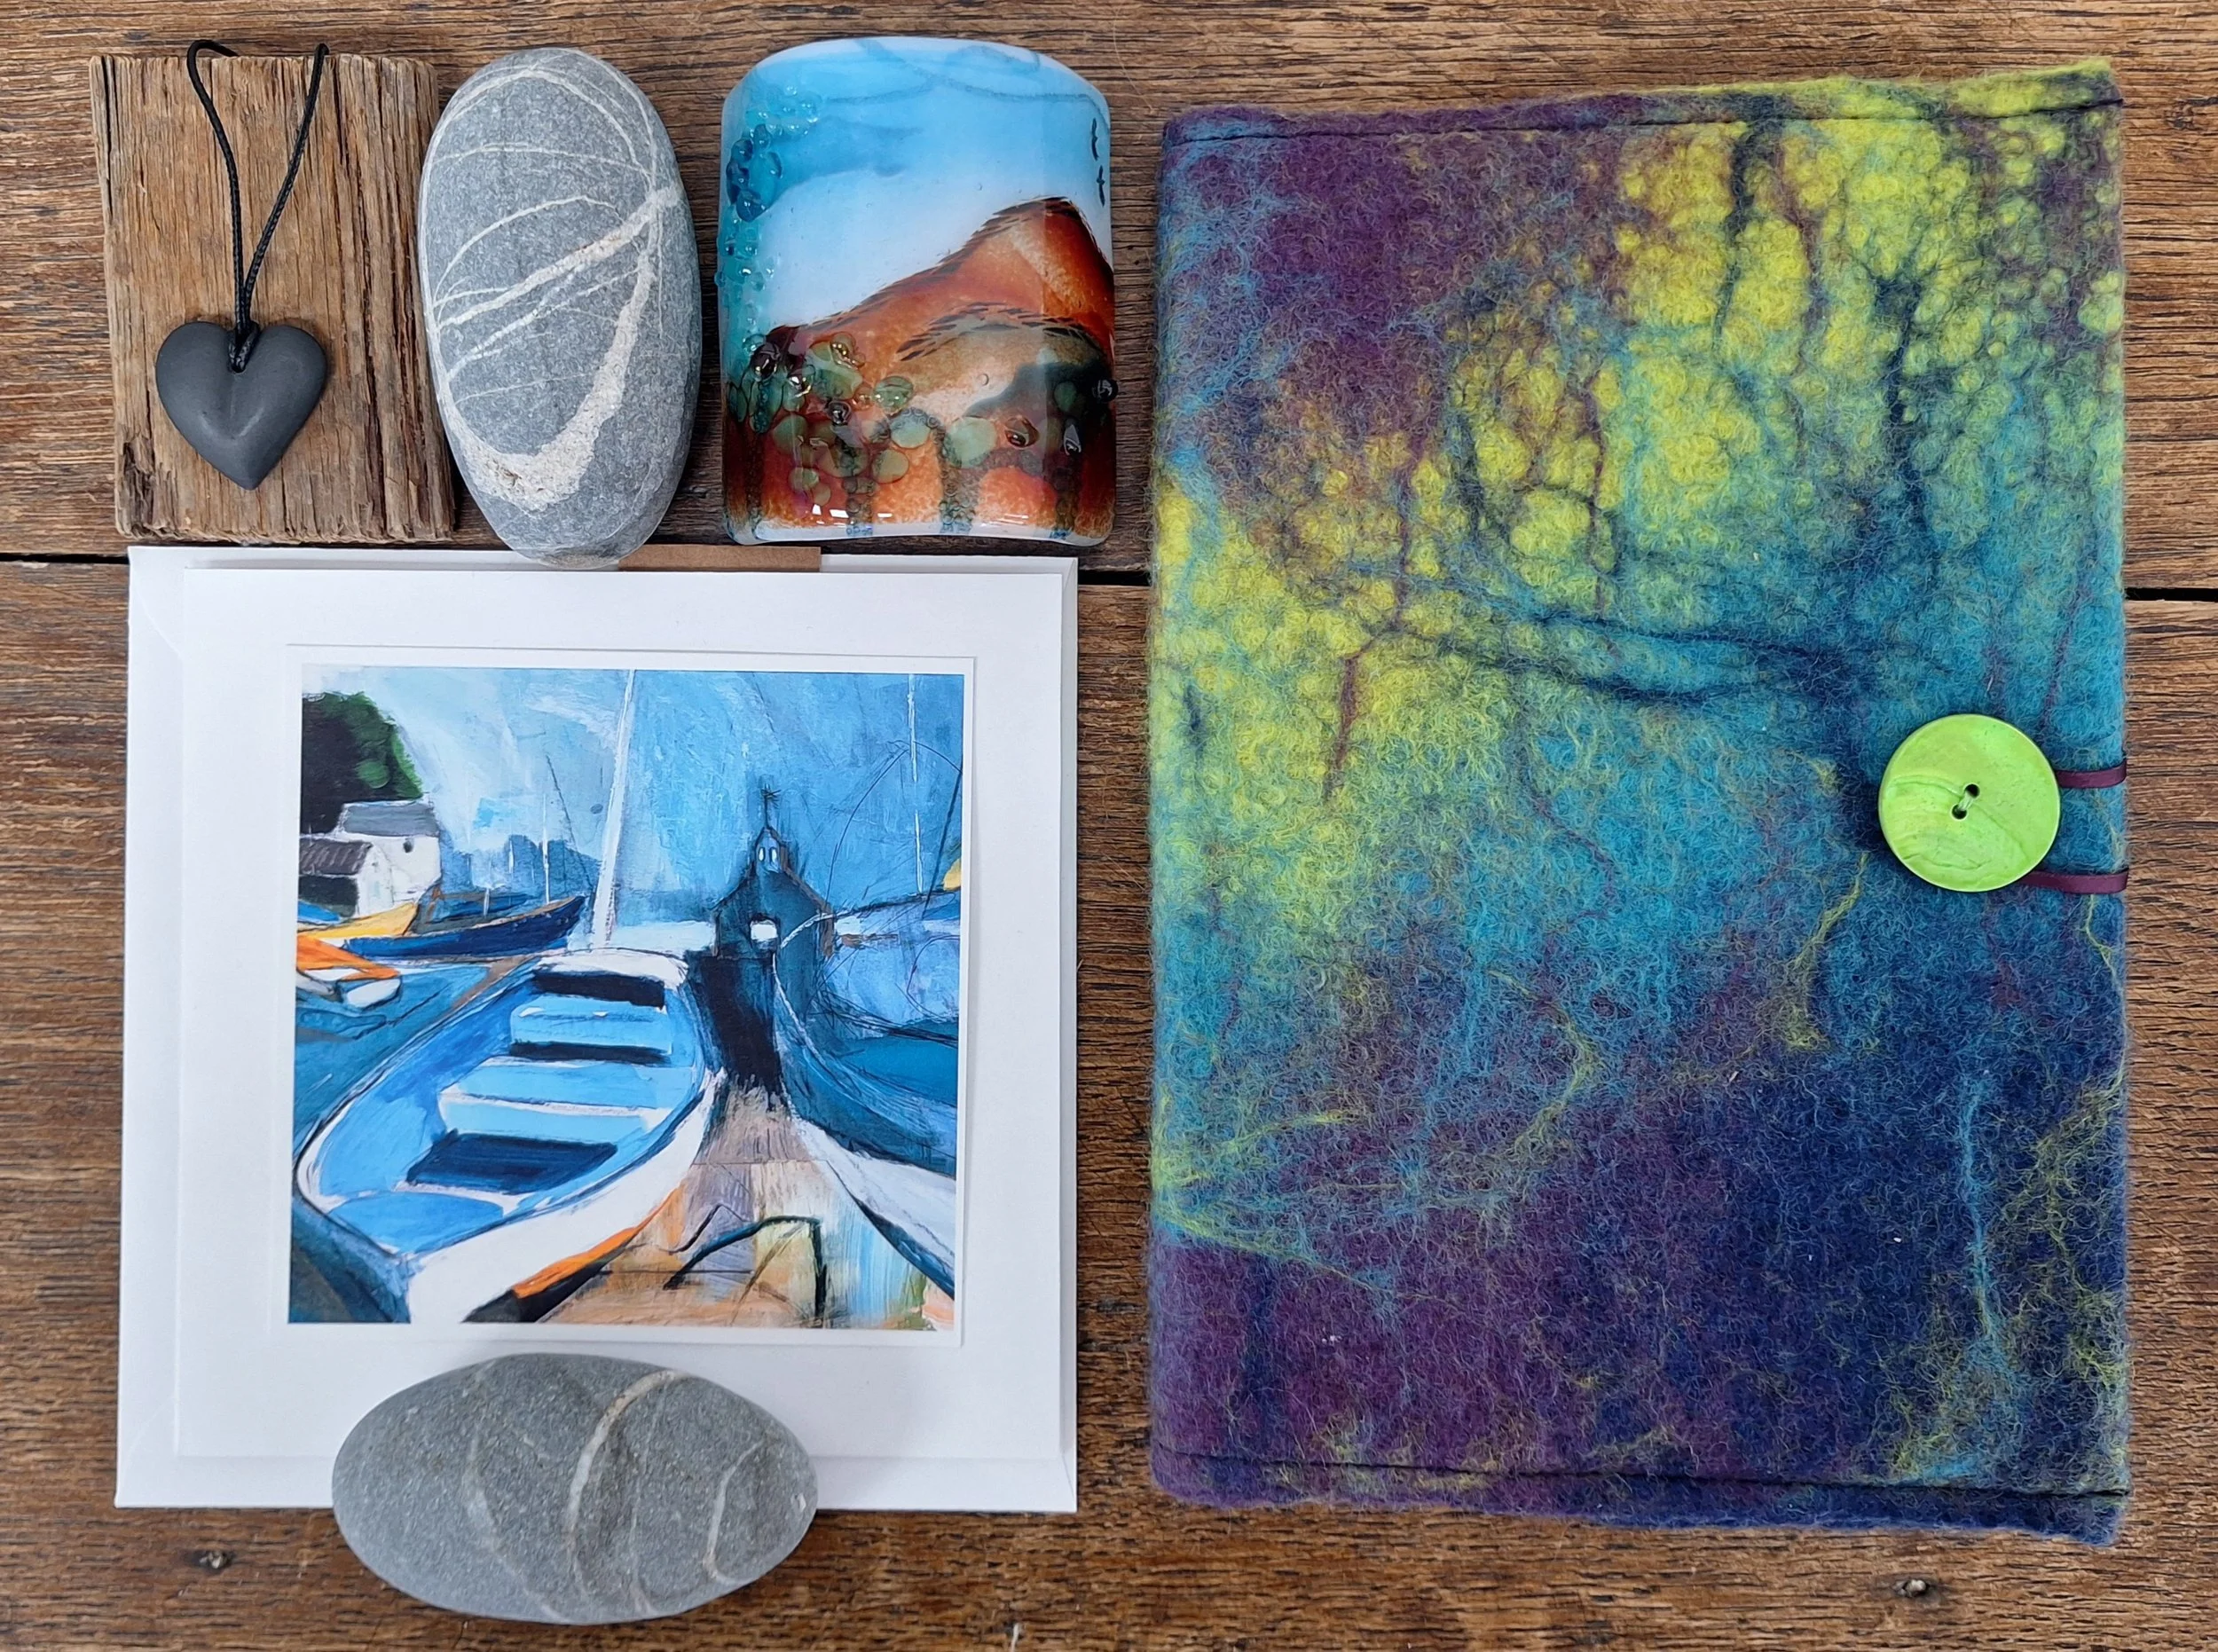
My work is inspired by the sea and a love nature and of wild swimming. When not in the water, I am often walking the coast and beaches of Pembrokeshire, peering into rockpools and being captivated by the natural treasures of the sea.
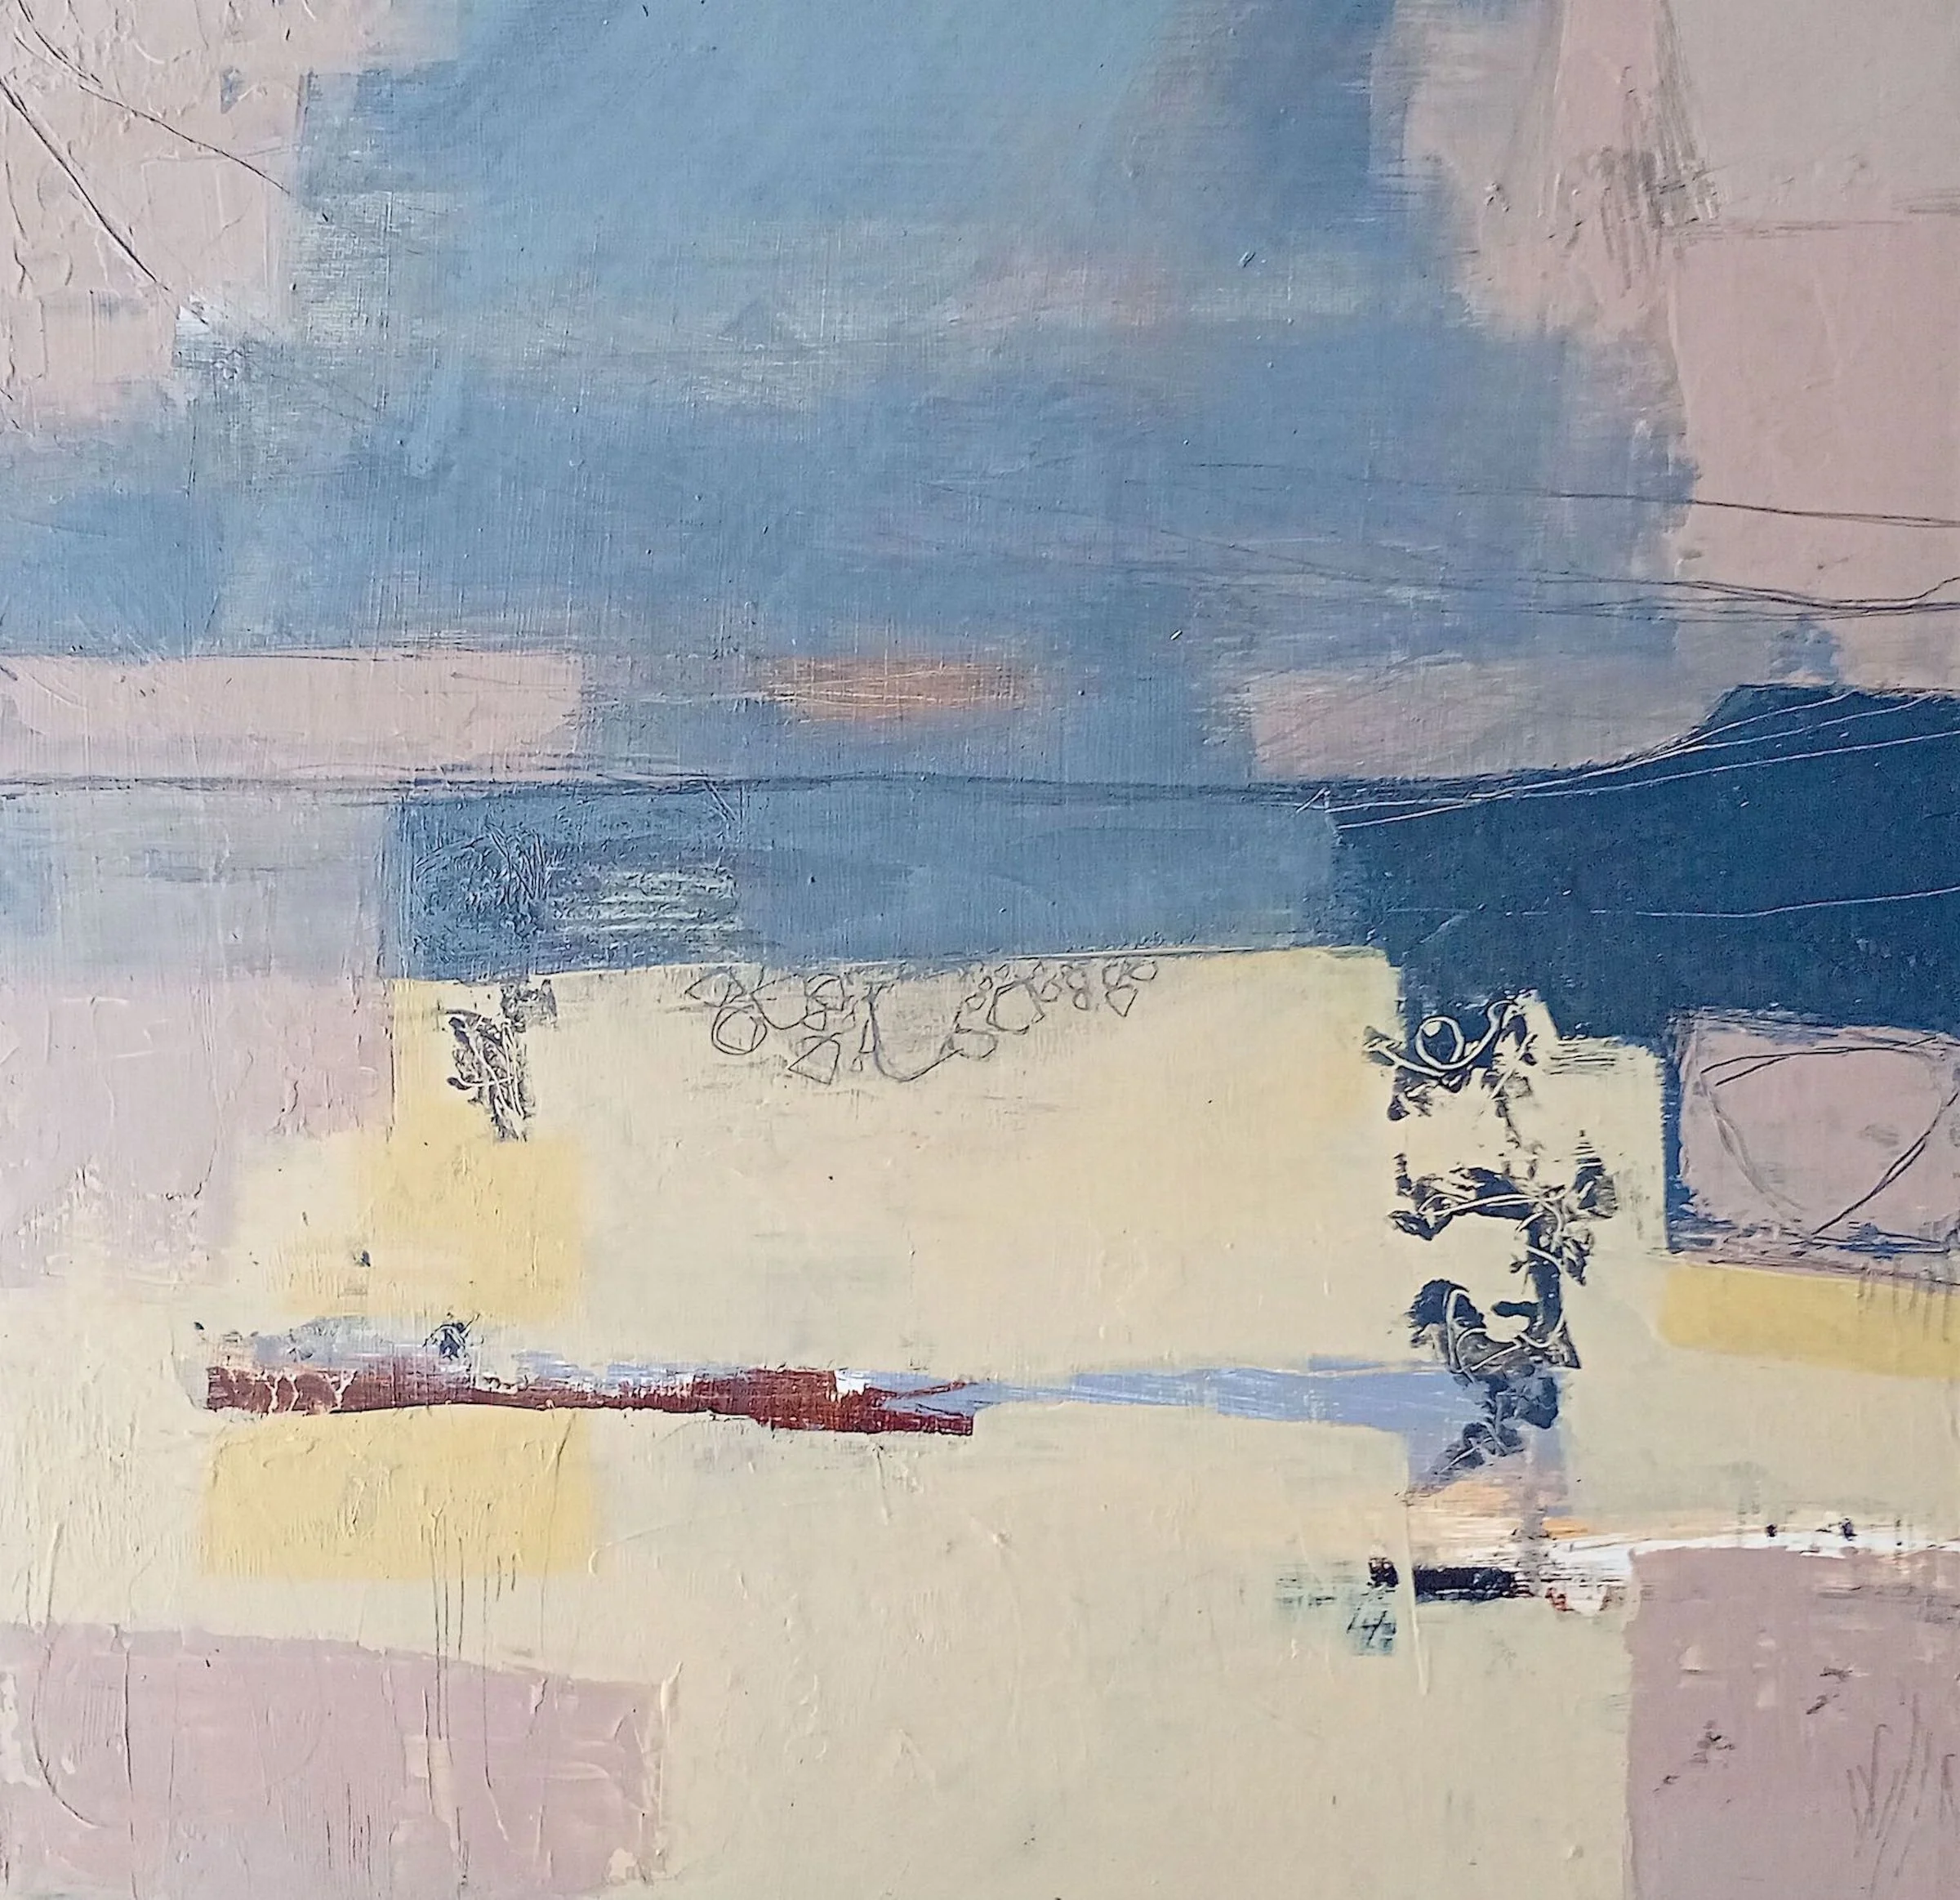
Those moments — the play of light on water, the textures of shells and sea glass, the ever changing colours of the ocean — find their way into my abstract/expressive paintings and ceramics.
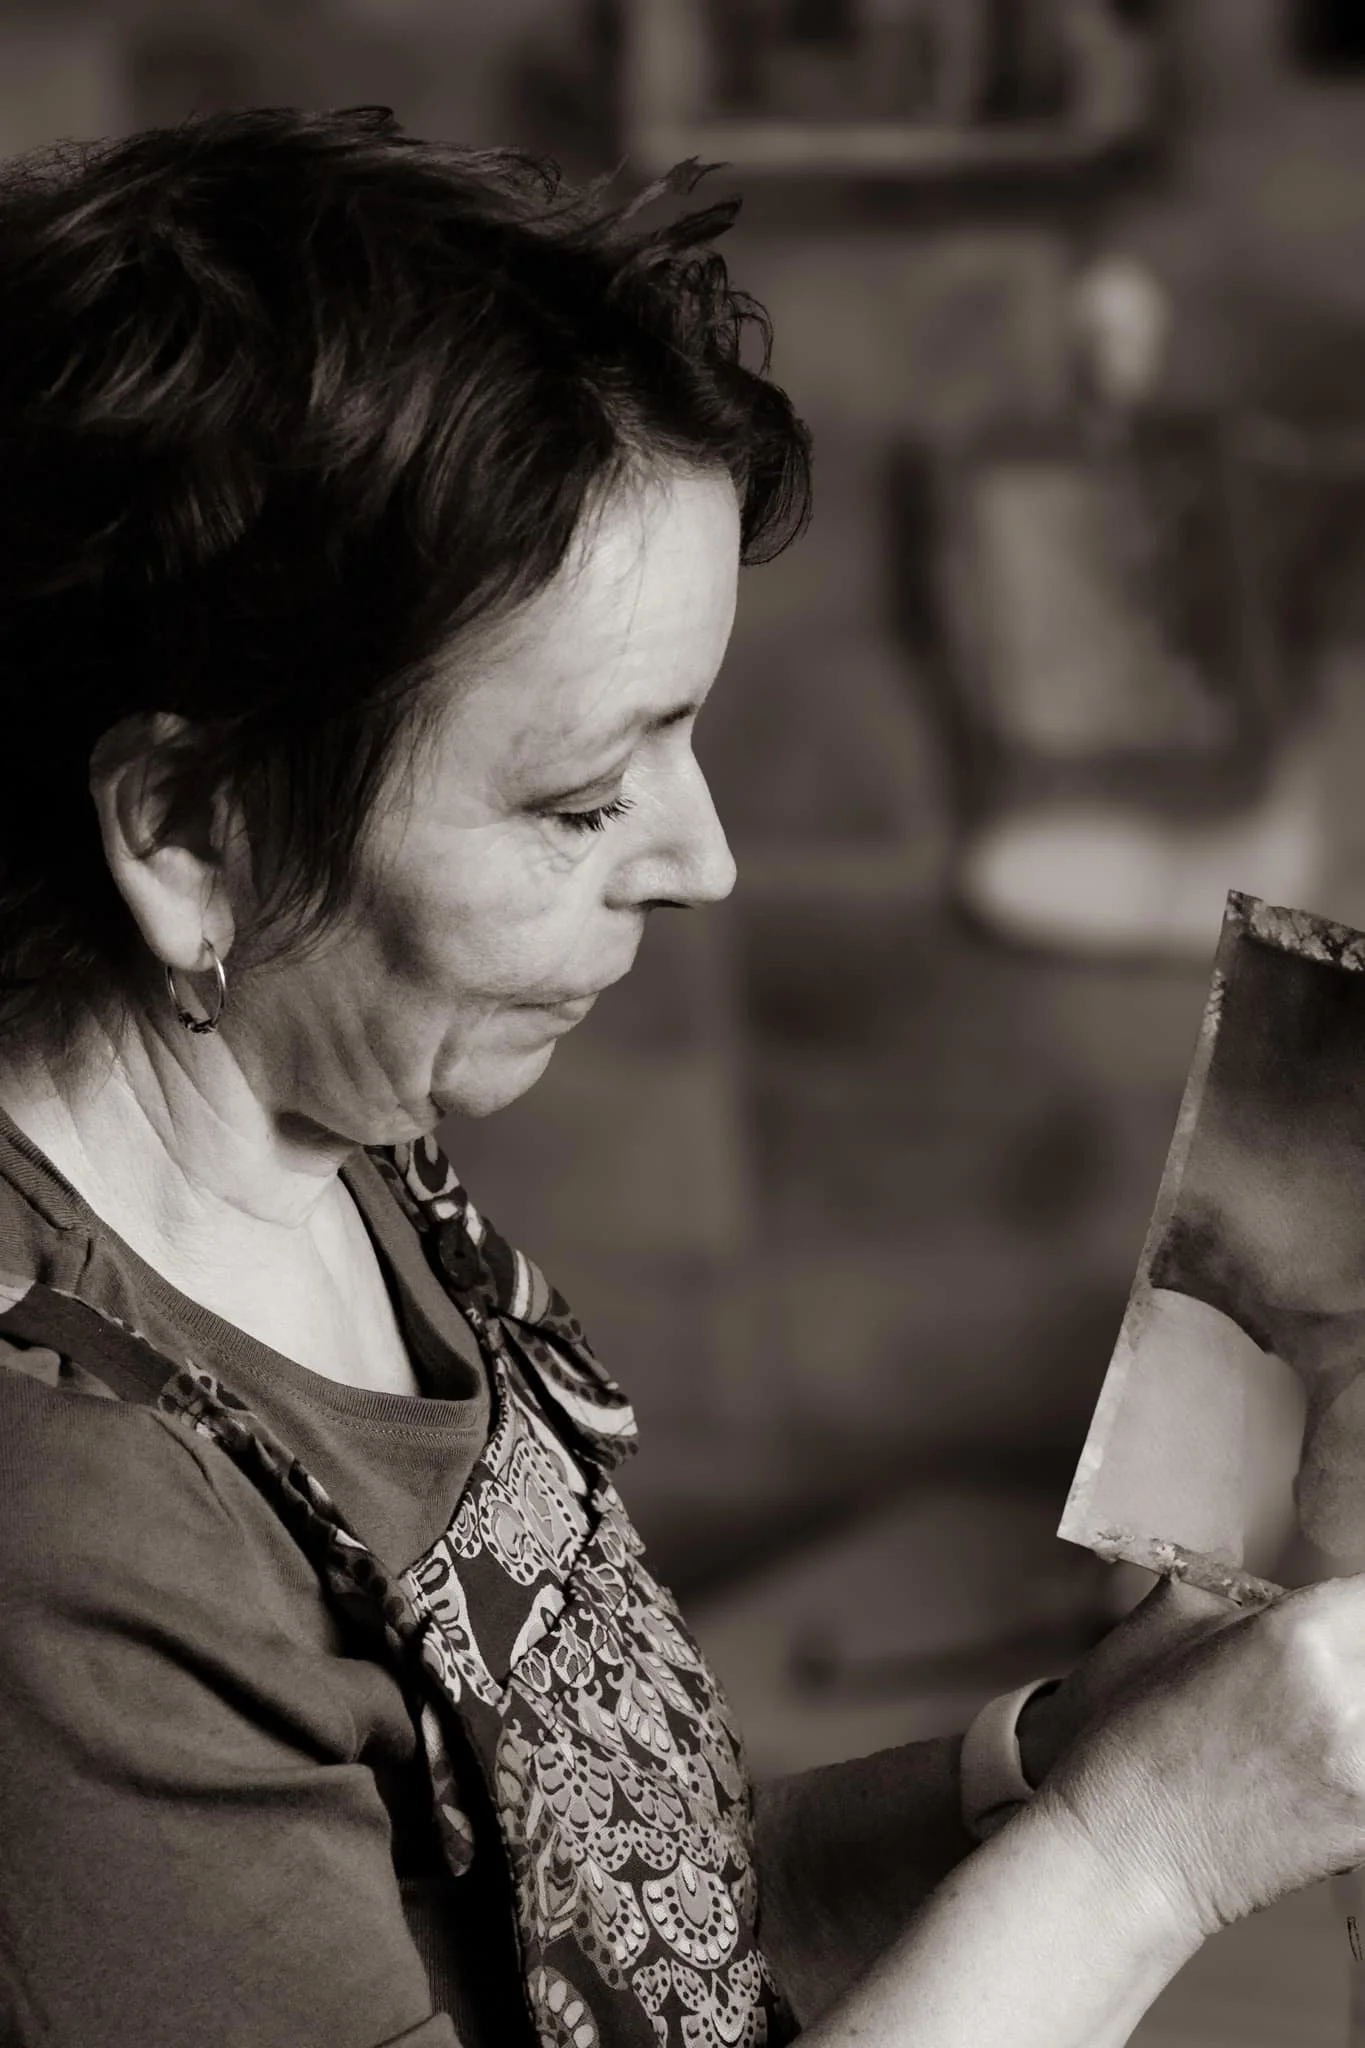
Defining my painting is a journey into my soul and my relationship with the sea, especially with wild and beautiful places. These responses to the world around me are intertwined with memory, both sensory and emotional through the tactile application of paint, the manipulation of form, the use of colour and light, layered with the addition of words, poetry and mark-making. My creative responses to place and time are deeply affected by the seasons and the annual cycle is a very instinctive part of my work.
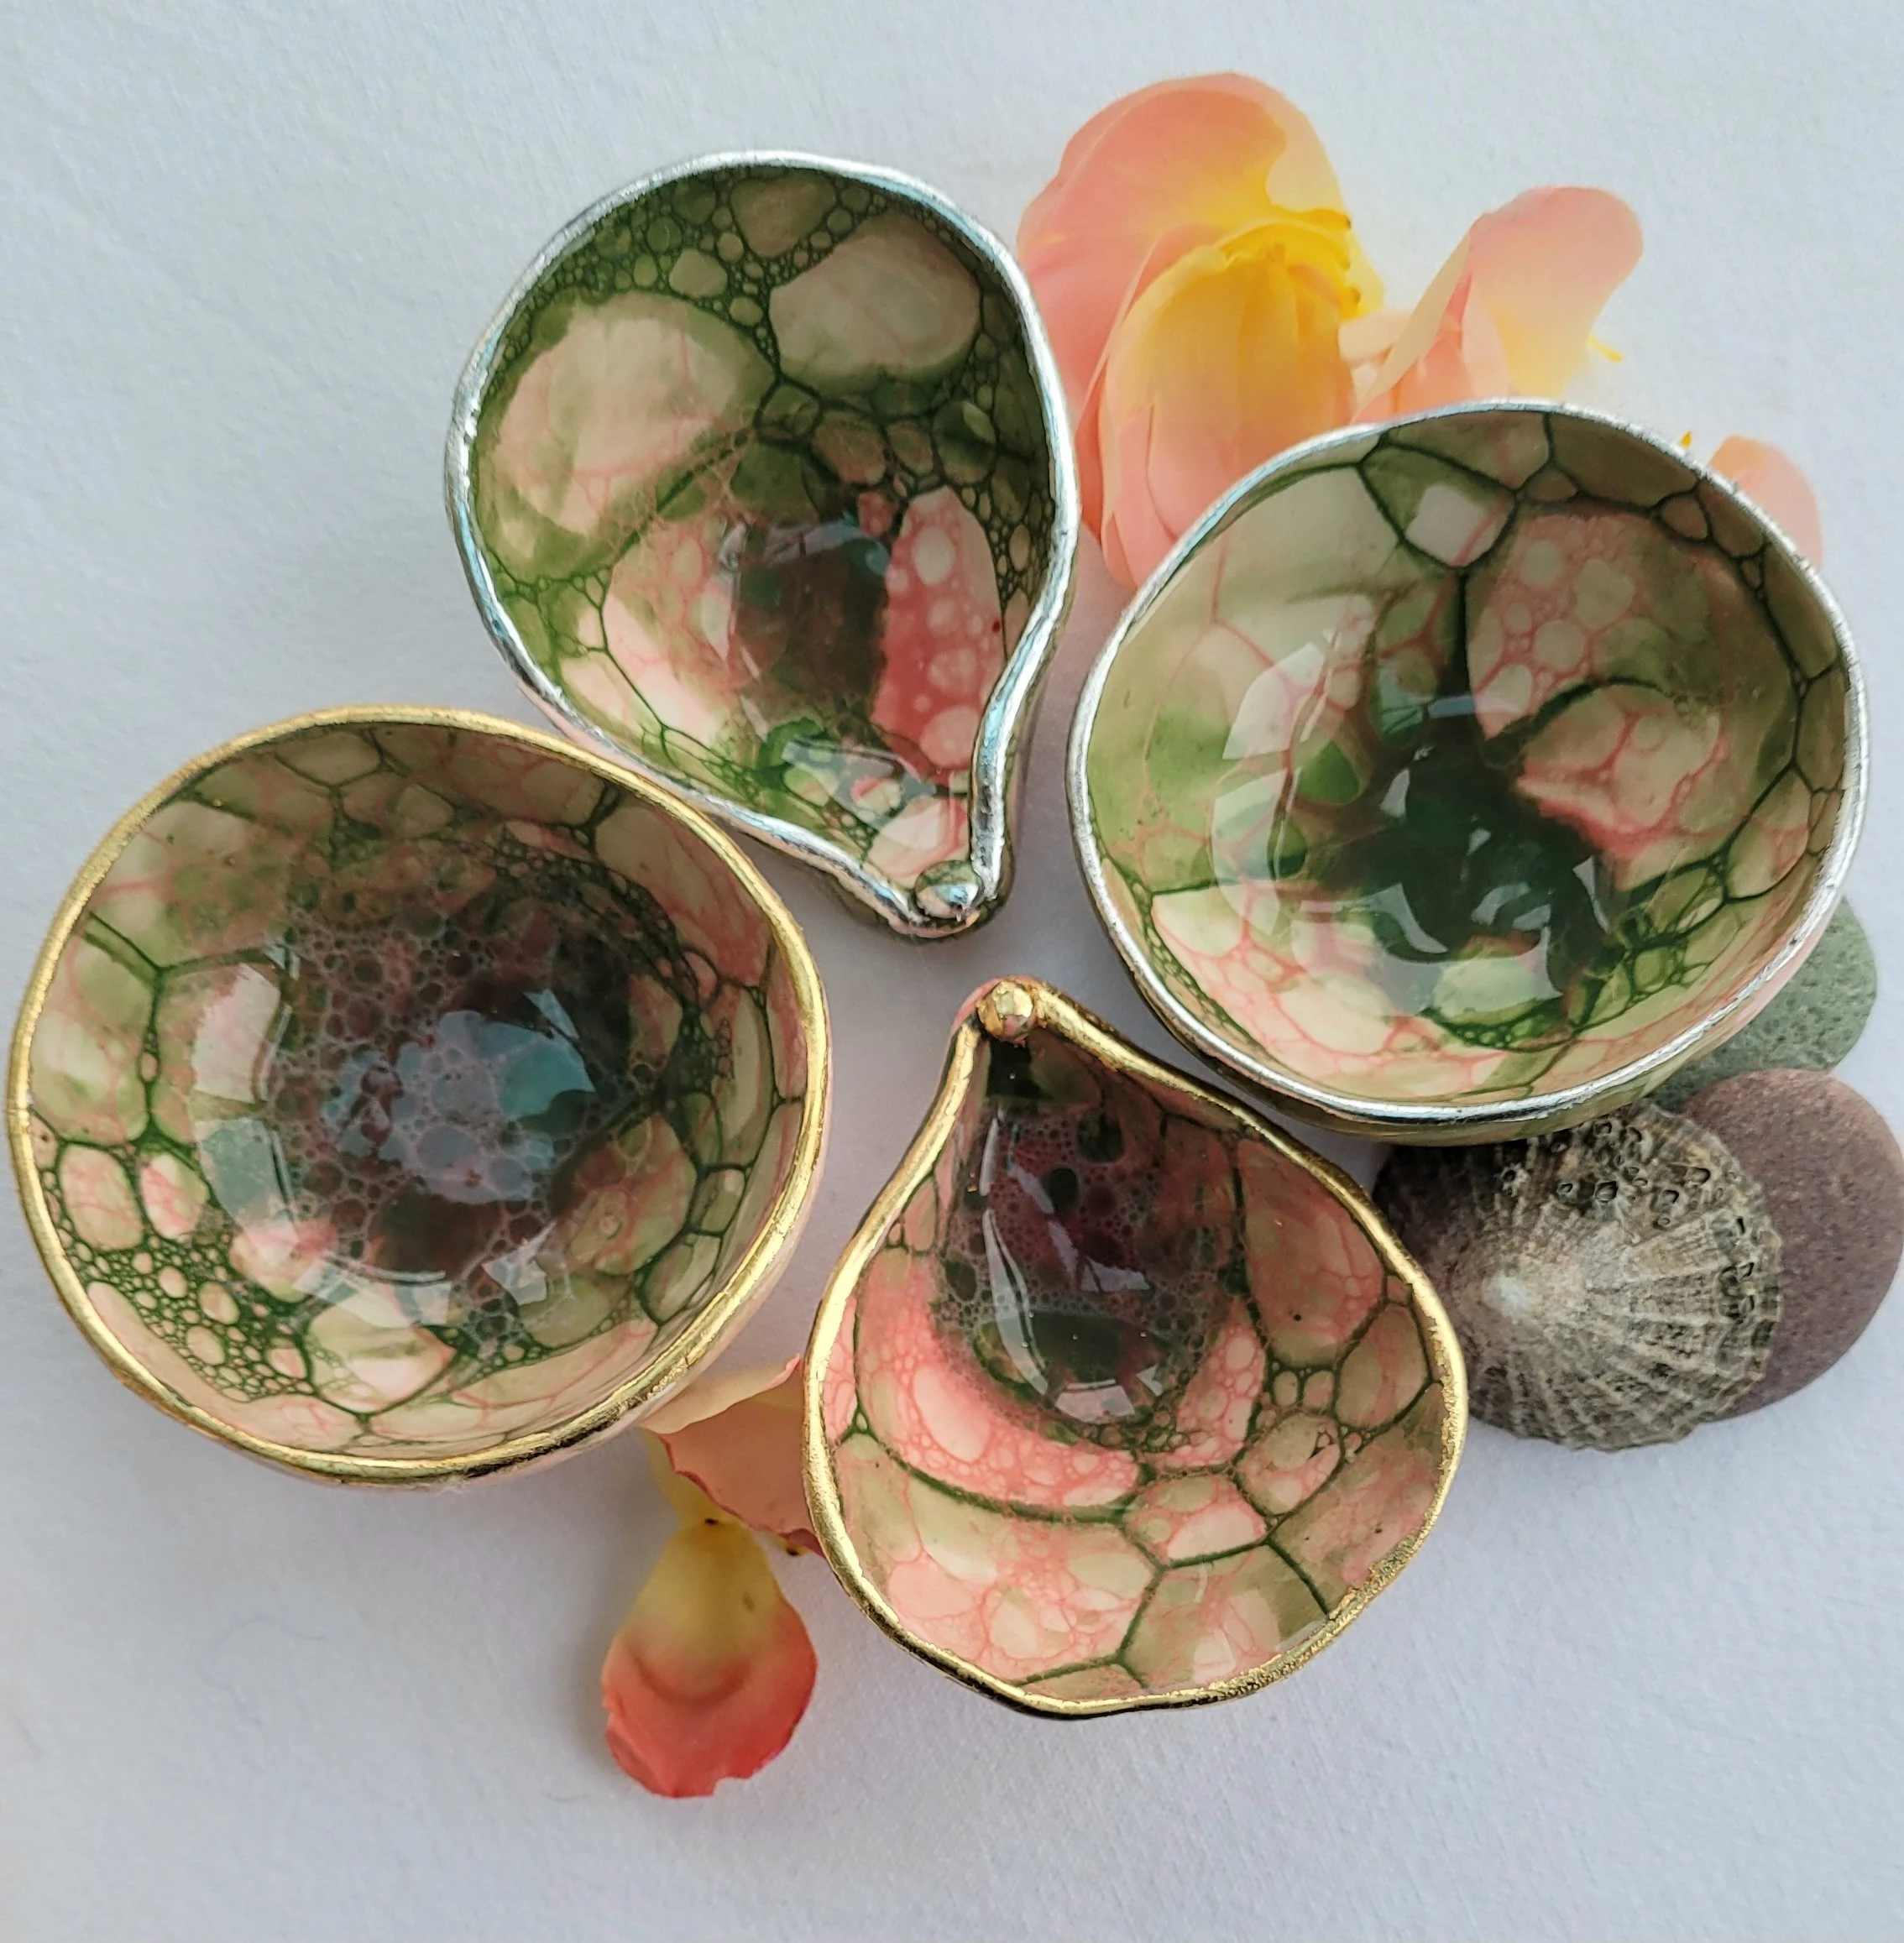
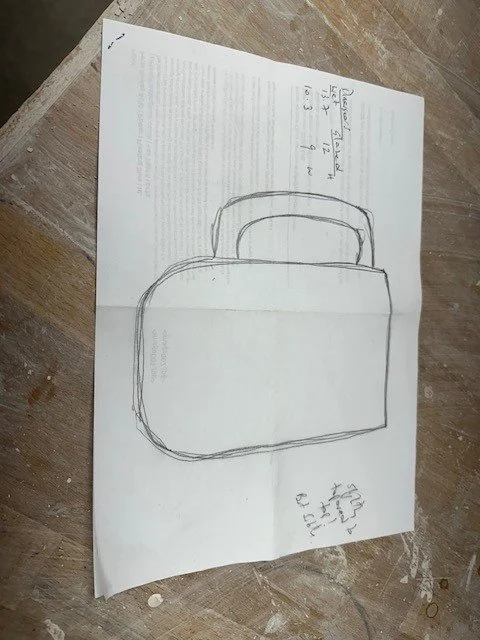
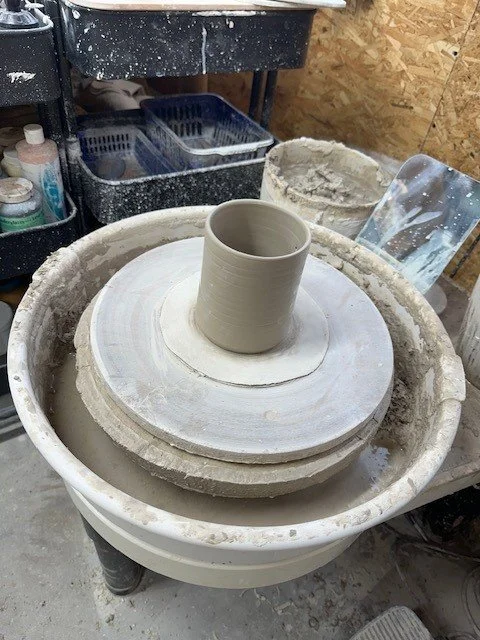
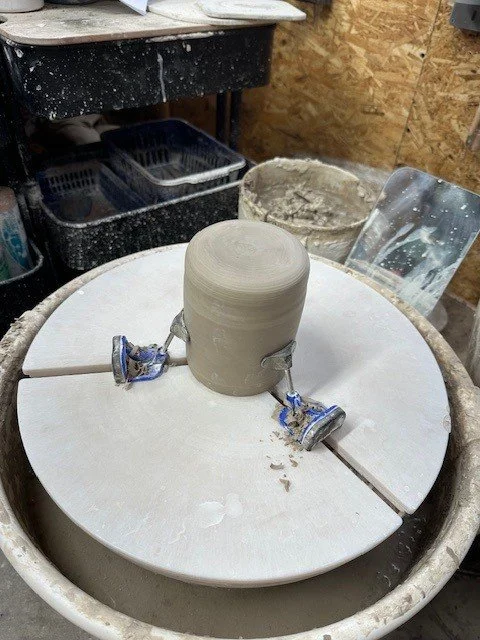
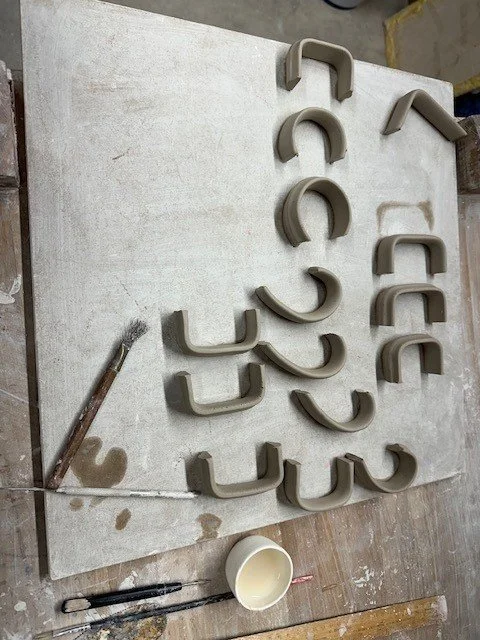
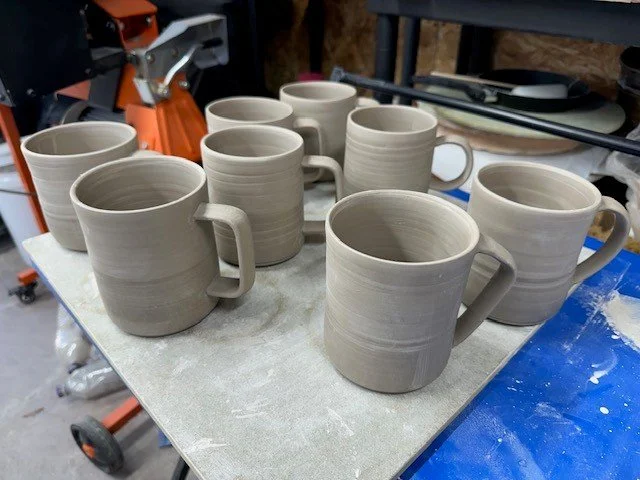
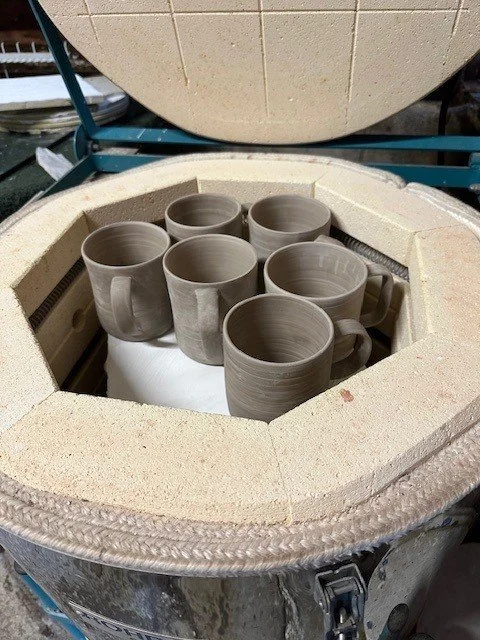
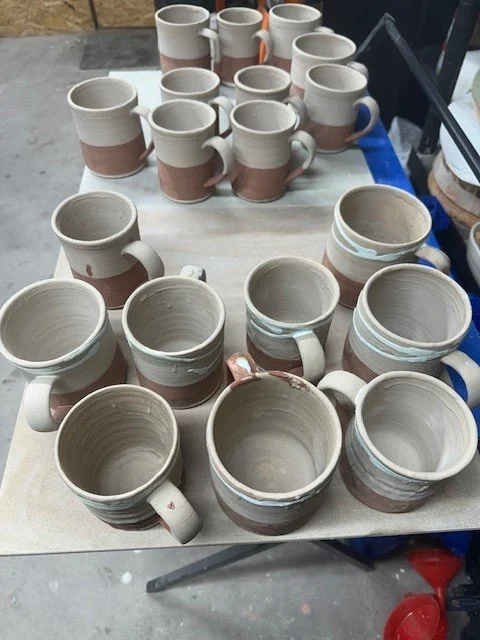
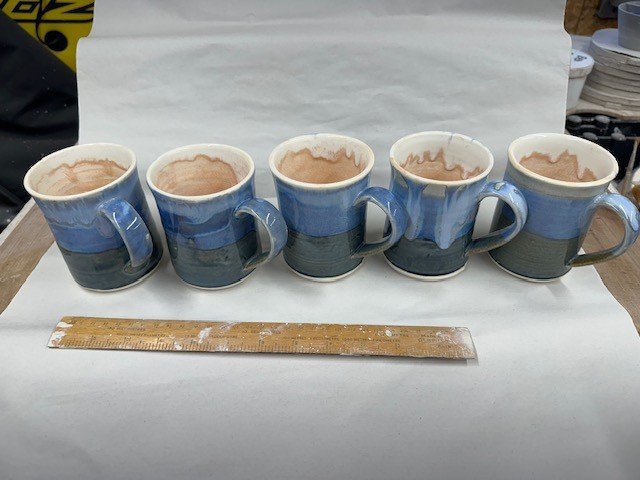
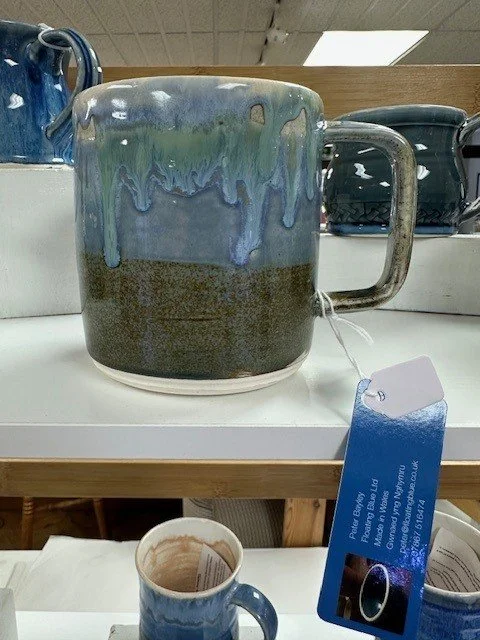
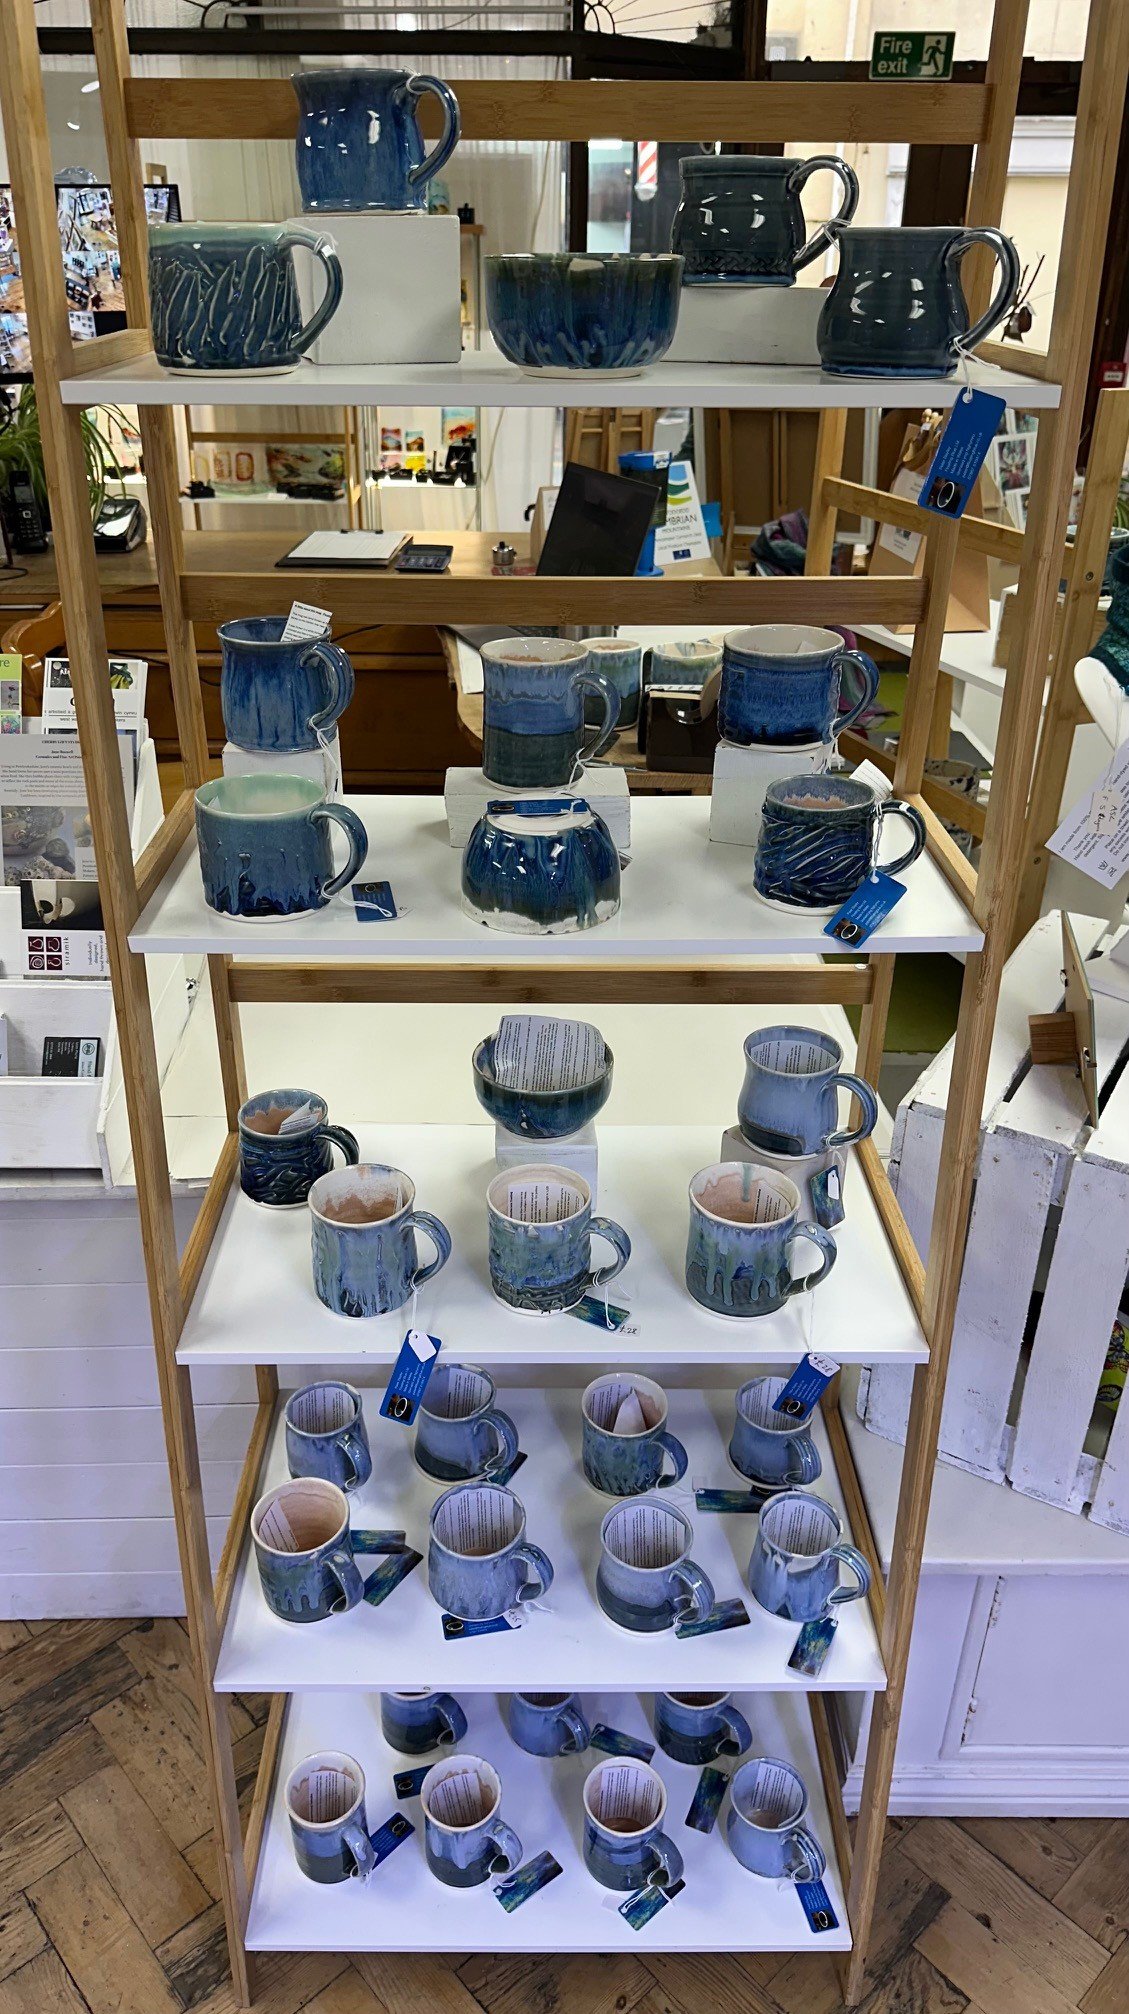
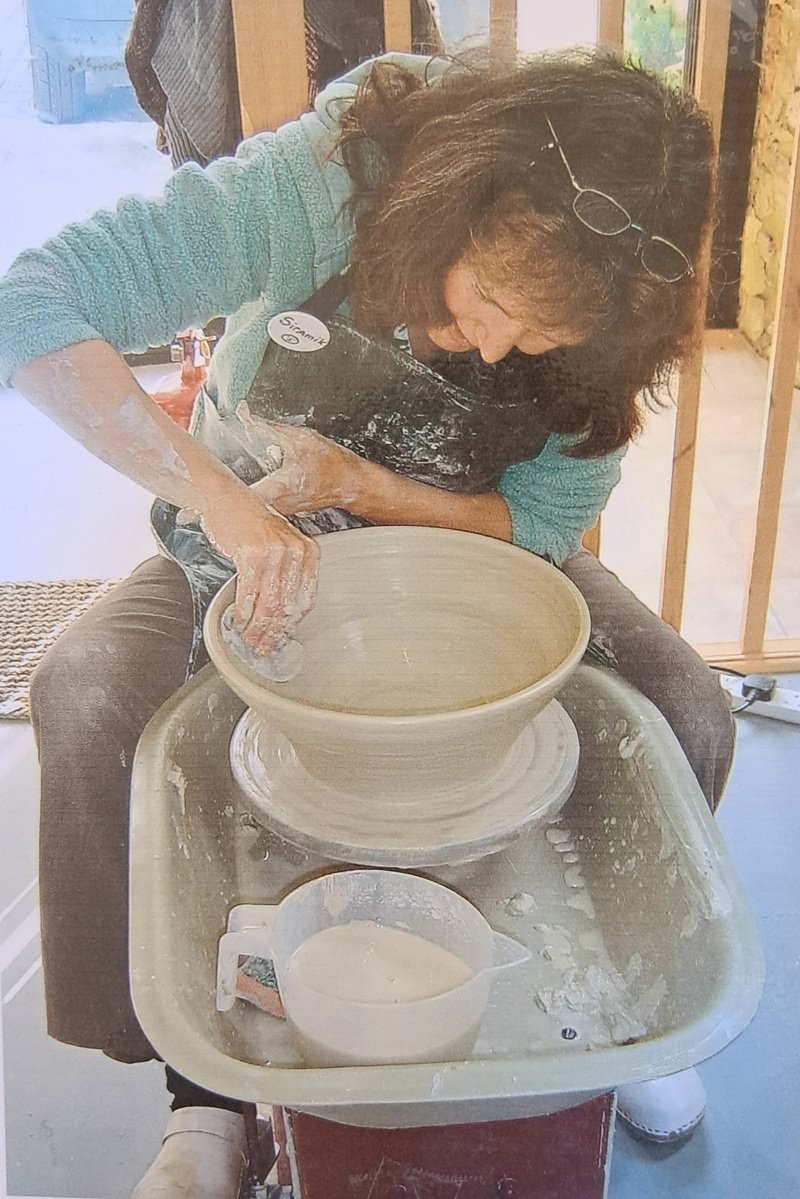
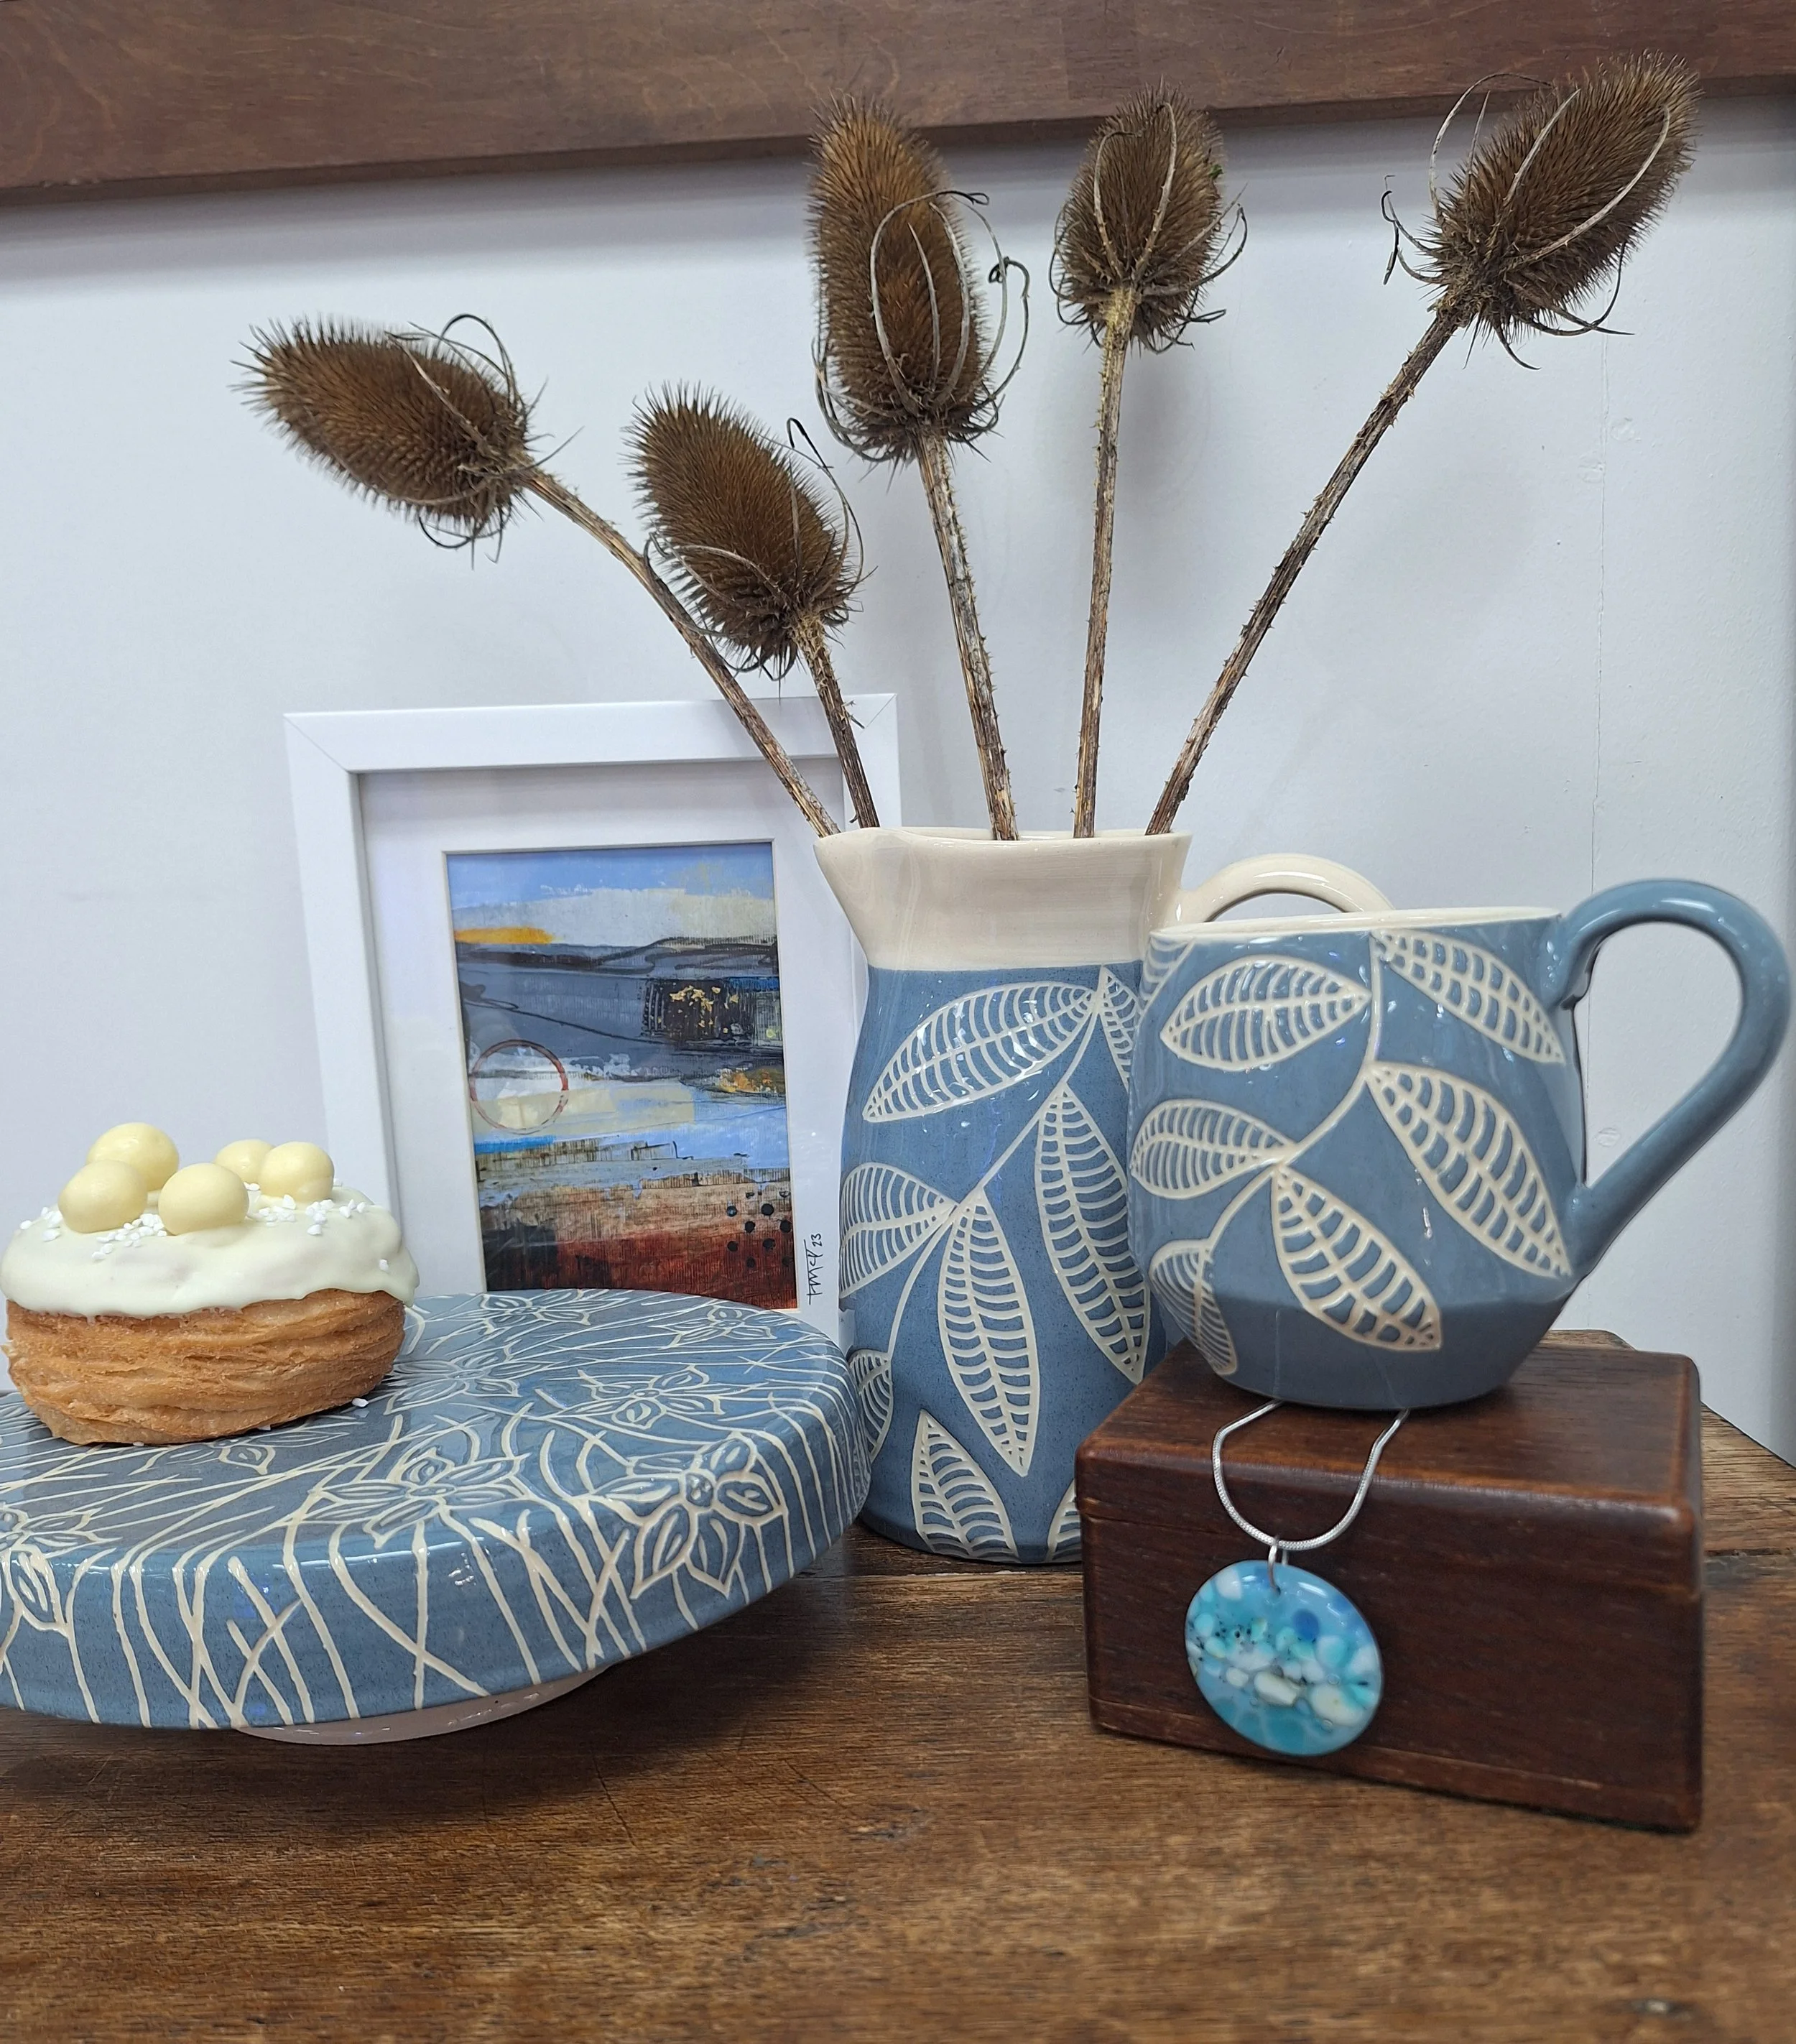
In my ceramics, every bowl, dish, and decorative piece is individual, with unique bubble textures that echo the foam and movement of the sea. I work primarily with porcelain and stoneware, crafting my bowls and dishes by hand, before bubble glazing in turquoises, blue, greens, purples and pinks.
My stoneware “Sea Cauldrons” capture the raw beauty of water sculpted rock formations and the delicate life forms clinging to the shore off the Pembrokeshire coast.
I like to add a certain preciousness to my pieces by adding either gold or silver leaf, and even little pieces of sea glass.
You can find out more about Jane through her website :
On Instagram and Facebook.@rosecottarts